Pricking Out Vegetable Plants: Tips and Instructions
Pricking out means separating seedlings a few weeks after sowing and planting them in their own pots with fresh soil. We explain what you need to bear in mind when pricking out young plants. We also give tips on pricking out popular crops such as tomatoes and peppers.
This Article Contains:
- Pricking out plants: What is pricking out?
- Pricking Stick: The Right Tool
- When to Prick Out? - The Right Time
- Which Soil to Use for Pricking Out?
- Rescuing Wilted Plants With Pricking Out
- Pricking Out Plants Correctly: A Guide
- Repotting Tomatoes - What You Need to Know
- Prick Out Chili/Peppers: It’s That Easy
- Pickling Kohlrabi
- Pricking Lettuce - Picking Lettuce, Head Lettuce
- Prick Cucumbers, Zucchinis and Pumpkin
- Frequently Asked Questions About Pricking Out Plants
Quick Overview
What Does Pricking Out Mean?
- Separate young plants into their own pots with fresh, nutrient-rich soil
- When to plant? The right time is when the cotyledons are already fully developed and the first "real" leaves are beginning to appear
- Which soil to prick out? Nutrient-rich garden soil, possibly mixed with sand
Pricking Out Plants - A Guide
- Remove the seedlings from the potting compost
- Pinch off the root tips with your fingers
- Using the pricking out stick, plant the seedling in the new pot, lowering the plant a little (up to the cotyledons at most)
- Fill the pot with soil and water the seedling well
Pricking out plants: What is pricking out?
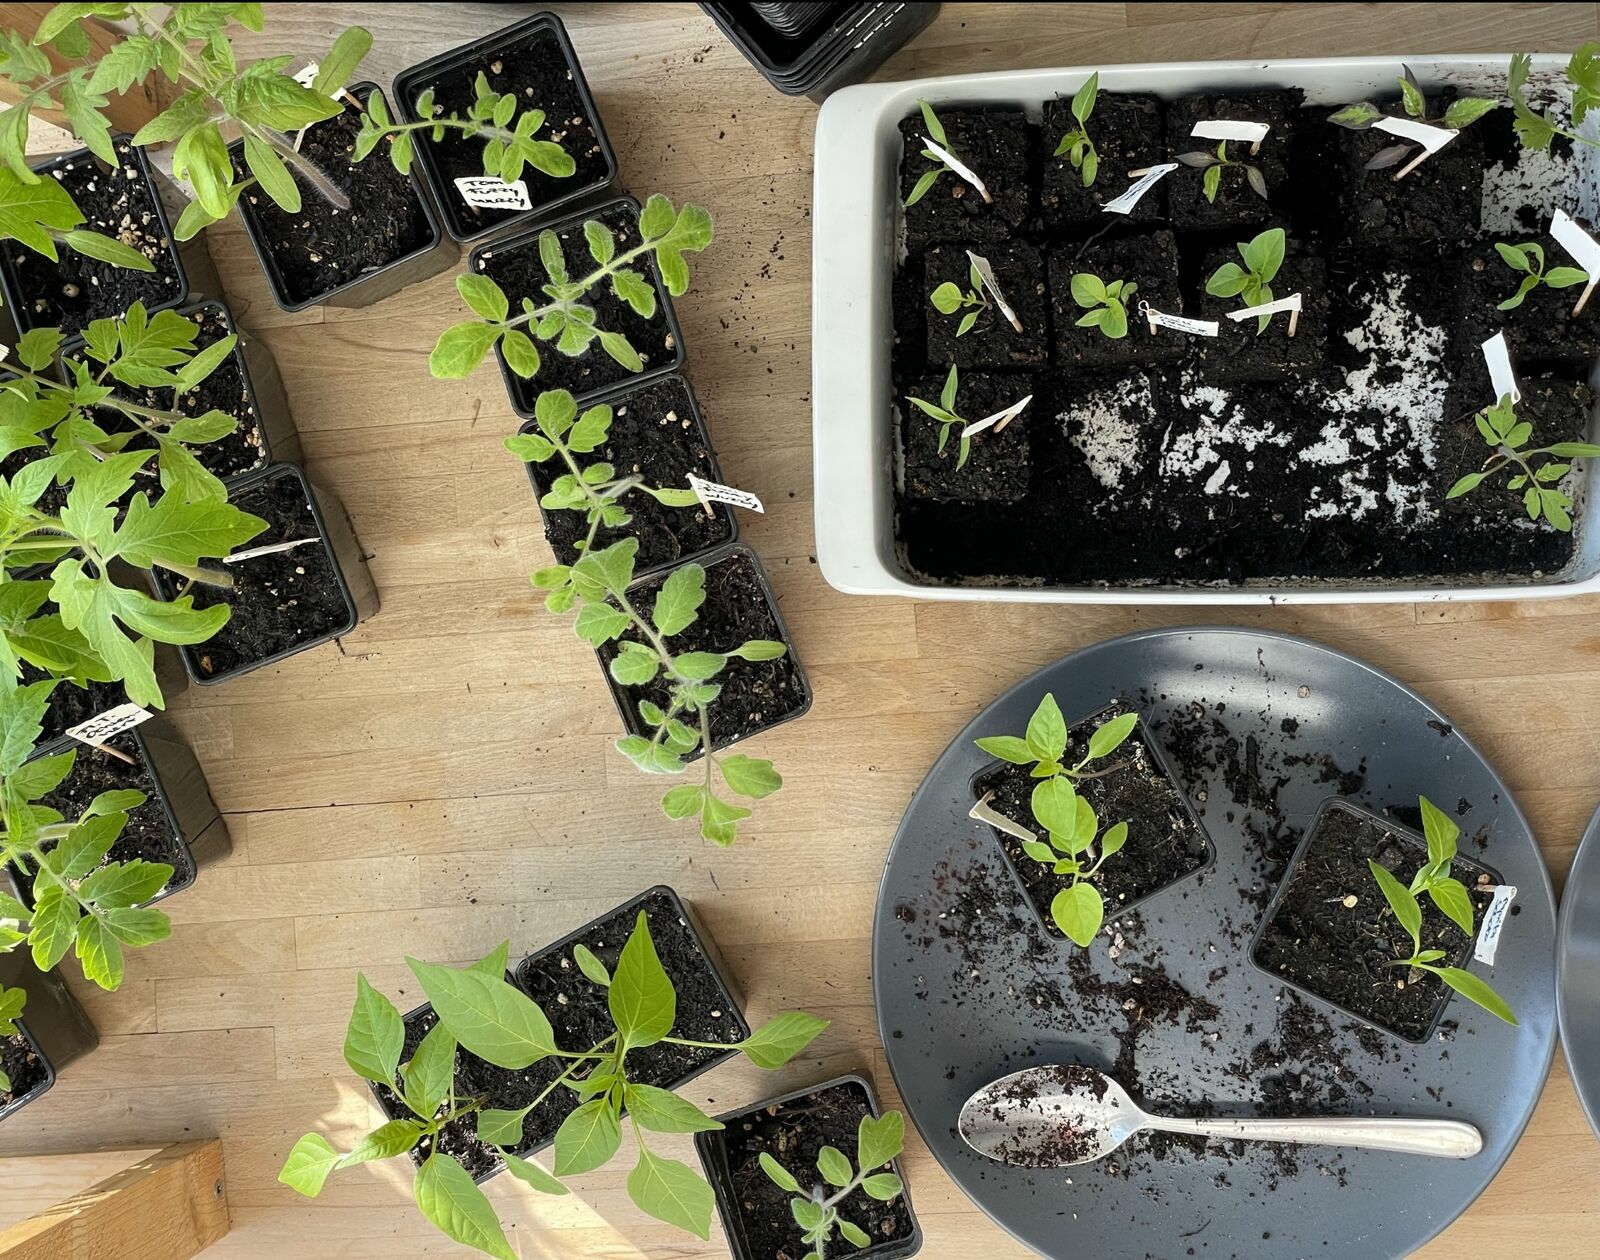
Pricking out seedlings is an important part of Growing Your Own Young Plants. Once your sown seeds have germinated and grown into small seedlings, space in the seed pots often becomes tight. To grow strong, the plants need more nutrients and space. And that's exactly why you prick out your young plants.
But what exactly does pricking out mean? When pricking out, you separate the young plants and separate the seedlings. Each young plant gets its own pot with nutrient-rich soil.
Pricking Stick: The Right Tool
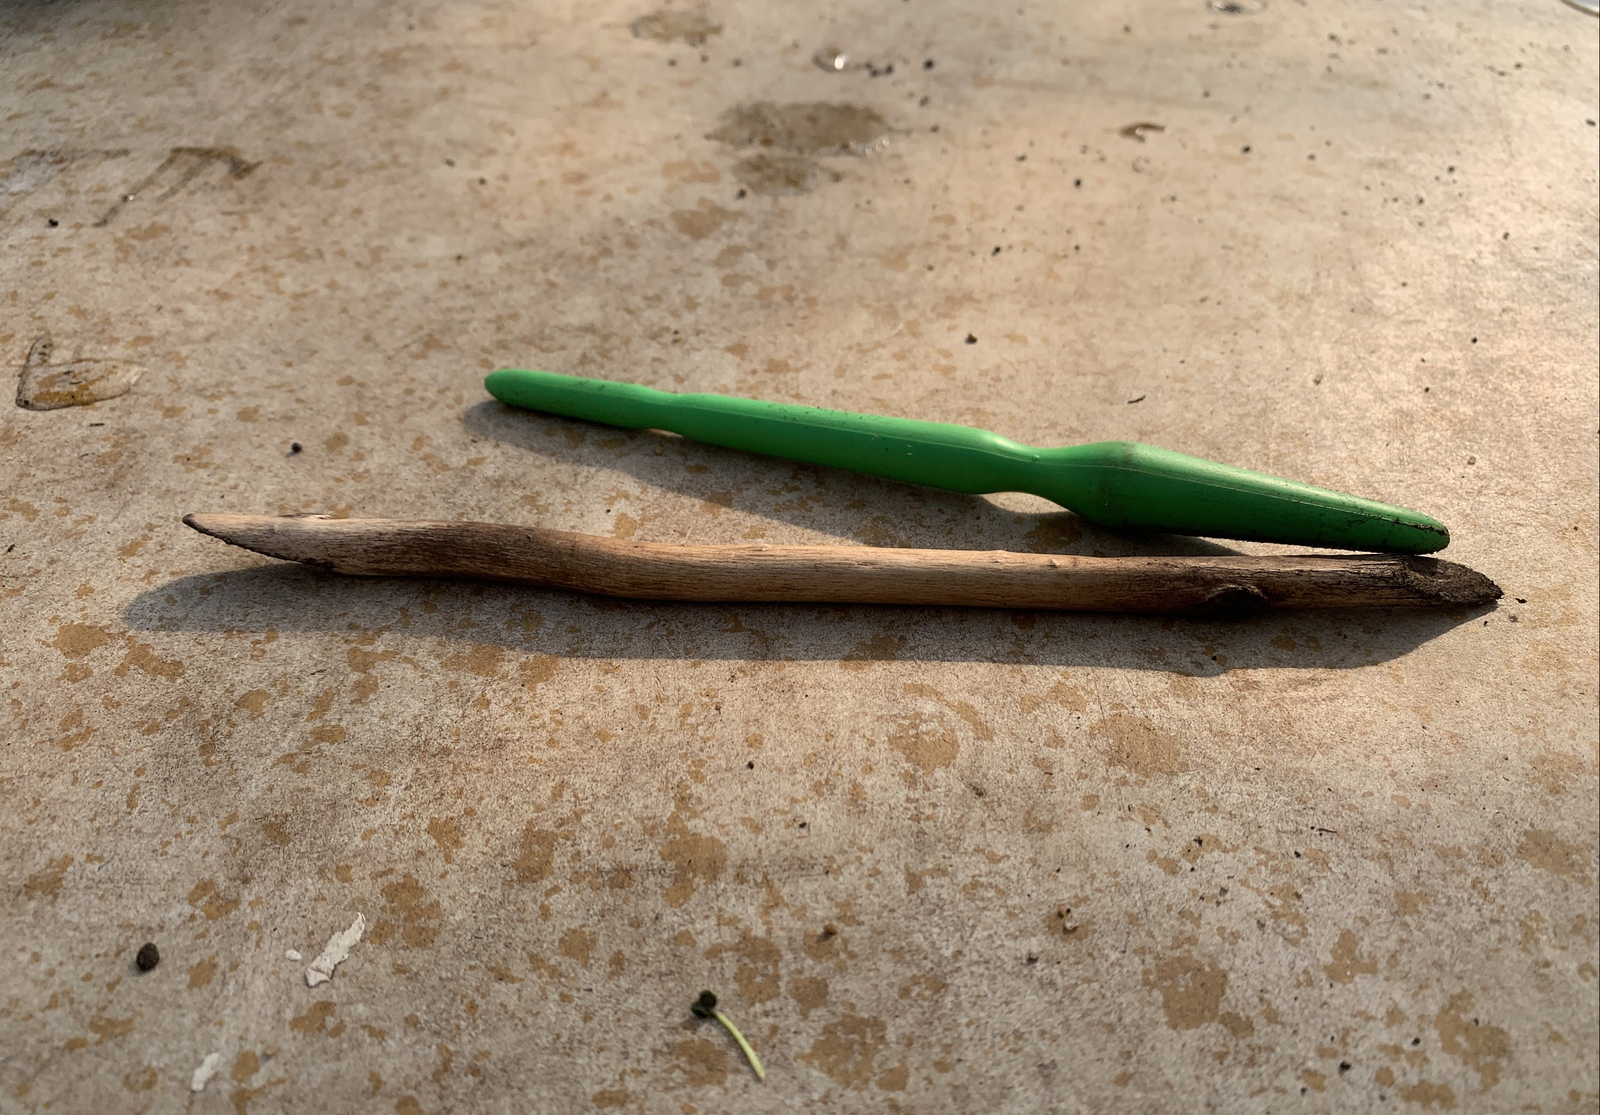
You need to be very careful when separating the young plants, as their shoots and roots are still fragile and delicate. This is why experienced gardeners use suitable tools. You can use a pricking-out stick to carefully remove the young plants from the soil. You can buy a pricking-out stick from a garden supply store. Alternatively, you can also use a spoon or a wooden pricking-out stick. You can simply collect a branch with a diameter of about 1 cm/0.4 in. The wood should be smooth and without sharp edges so as not to injure the seedlings.
When to Prick Out? - The Right Time
The right time to prick out the young plants is when both cotyledons are already fully developed and at least the beginnings of the first 'real' leaves are visible. If you prick out too early, you run the risk of your seedlings getting a shock and dying. But don't wait too long to prick out either, as the seedlings grow in nutrient-poor potting compost - sooner or later, the soil will lack nutrients for good development. Therefore, a good time to prick out is during the development of the first leaves. The seed contains enough nutrients for the seedling to develop on its own until the cotyledons appear. It then relies on nutrients in the soil and sunlight to produce biomass itself.

Still Have Questions?
To exchange ideas with other gardeners and benefit from the experiences of others, you can visit our Fryd community. Here you will find numerous helpful gardeners.
Join the Community NowWhich Soil to Use for Pricking Out?
Low-nutrient Potting Compost is used when sowing seeds. This promotes the development of a healthy seedling with a solid root system. When pricking out and moving into its own pot for the first time, the seedling is given fresh, nutrient-rich garden soil. Choose organic garden soil without peat for this in order to garden ecologically and sustainably. Depending on which plant you are planting, you can adapt the soil to the needs of the plants. Low-growing herbs prefer soil with a high sand content. However, many vegetable plants such as pumpkins and tomatoes need nutrient-rich soil with a high water retention capacity. You should not mix in sand here.
Rescuing Wilted Plants With Pricking Out
There is a particularly high risk of your seedlings going to seed early in the year (e.g. peppers). Seedlings go to seed if the ratio of light and heat is not right. When growing on a windowsill, it is usually relatively warm and relatively dark. In addition, the days are still short this early in the year. The seedlings grow quickly in search of sunlight. They have a thin shoot that can barely support the leaves. This makes them unstable. Repotting and pricking out the young plants can help here. By separating the young plants, there is less competition for light. To increase their stability, you can also plant the young plants deeper.
Pricking Out Plants Correctly: A Guide
Material : What You Need
- Young plants that already show the beginnings of the first leaves
- Pricking out stick
- Organic garden soil without peat, sand if necessary
- Pots with a diameter of 10 - 15 cm
Instructions for pricking out
- To prepare, you can fill the new pots about halfway with fresh garden soil. Choose an appropriate pot size depending on how long the plant will be in the pot. However, a diameter of 10 to 15 cm/4 to 6 in is usually sufficient.
- Carefully loosen thesoil around the seedlings with a pricking-out stick and carefully pull out the seedlings. If you are growing potless with soil pots/soil balls, you can simply crumble the soil balls. If you have the bare-root seedling, you can lightly pinch off the root tips with your fingers. This will stimulate root growth.
- Place the seedlings in a prepared pot with nutrient-rich garden soil. You can use a pricking-out stick for this. Dig a hole in the garden soil so that the seedling fits in well and plant it in the hole. The roots should point downwards again. Use the pricking-out stick to align the roots.
- Place the seedlings a little deeper into the soil than before. This increases their stability, especially in the case of plants that have gone to seed. The cotyledons should still be sticking out of the soil. How deep you place the seedlings when repotting depends a little on the crop. Some plants tolerate it well, as they can easily form new roots from the shoot (e.g. tomatoes). Other plants can rot if they are too deep in the soil.
- Then fill the pot with soil and press it down a little. Finally , water the seedling well once so that the roots connect with the soil. This makes it easier to grow.
- Don't be alarmed if the seedlings let their leaves hang down at first. They should straighten up after a few days. It may be that the transplanting has given them a shock. As soon as the roots are well established in the soil and can absorb water, the seedlings should straighten up again.
Repotting Tomatoes - What You Need to Know
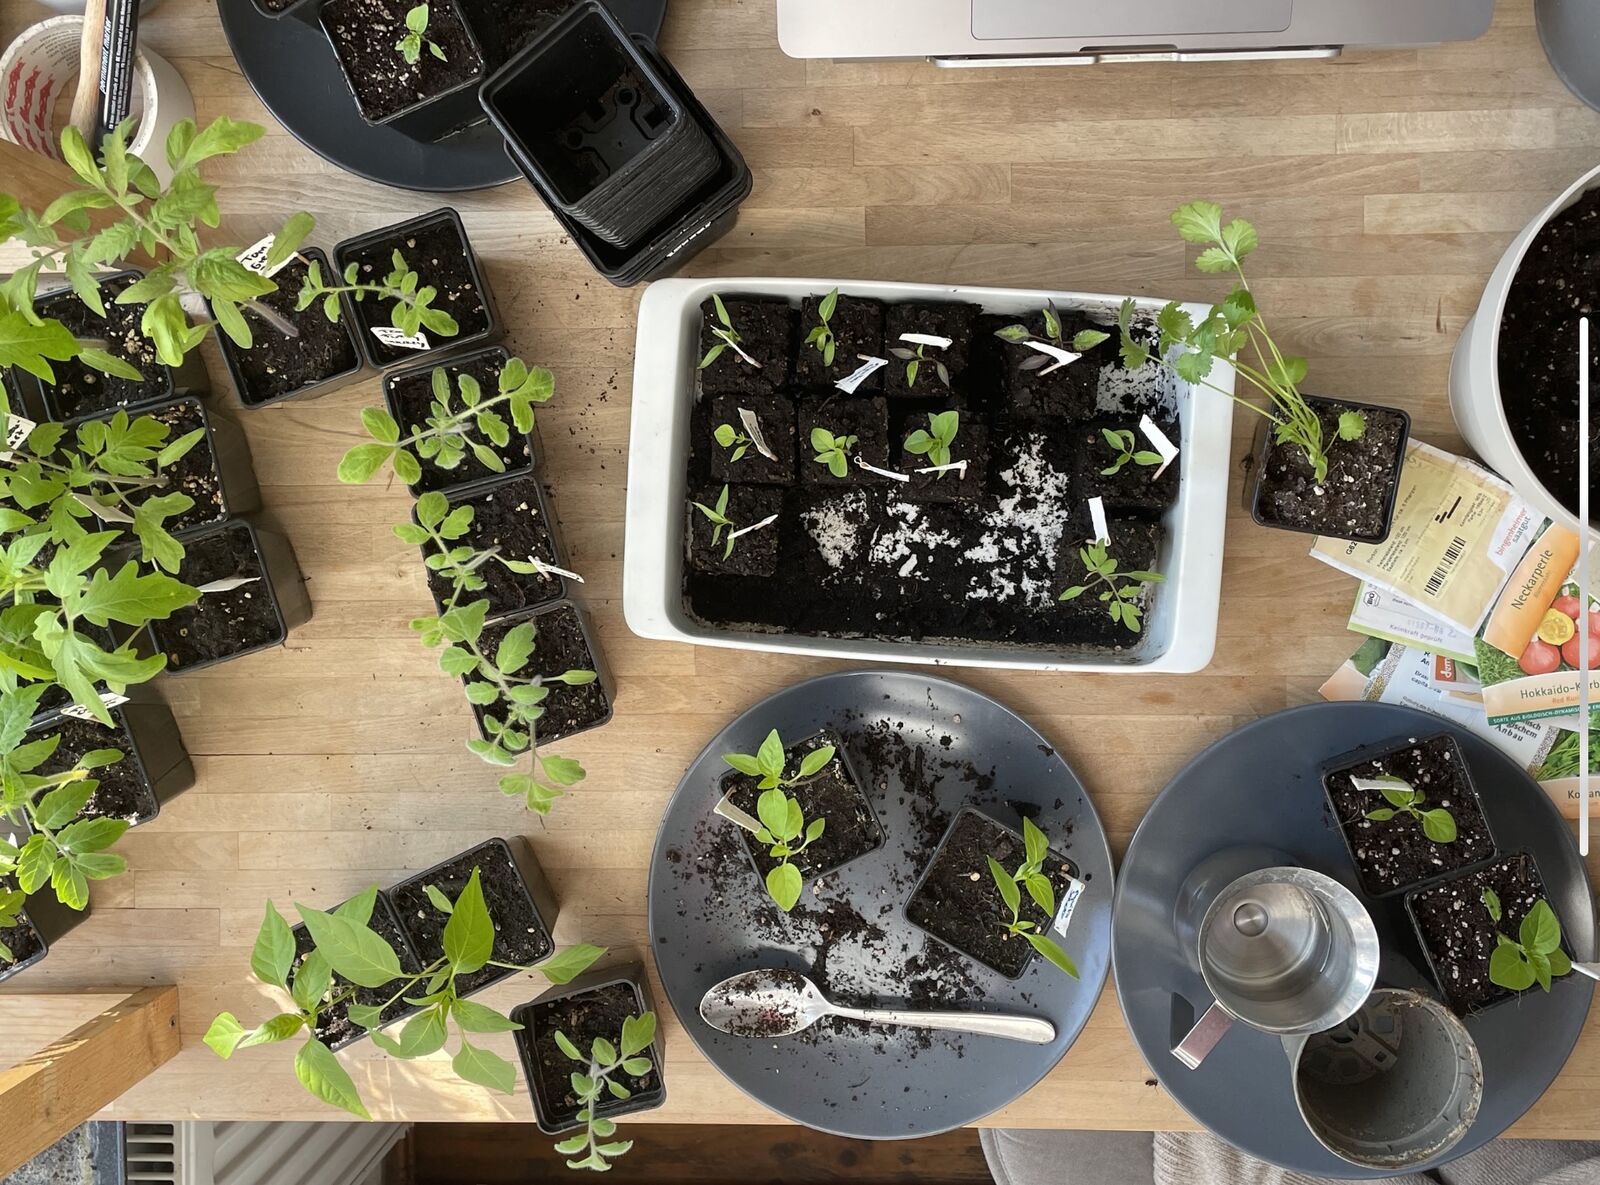
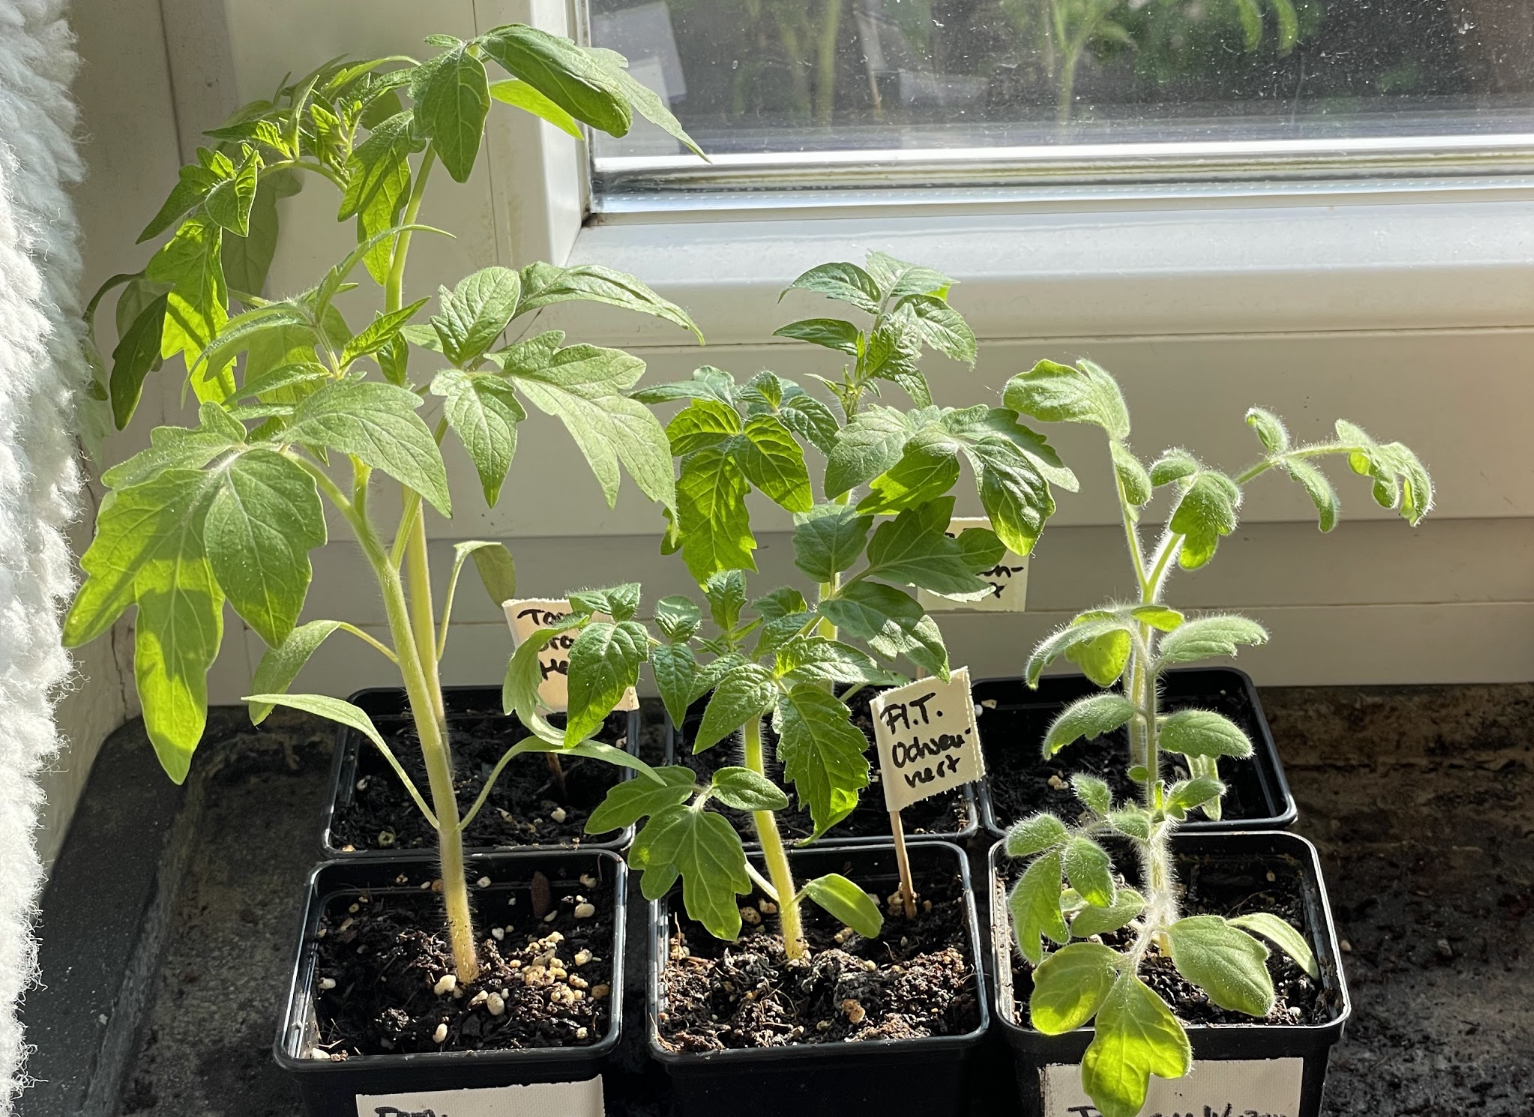
Tomatoes are often sown broadly in seed trays and need to be pricked out after a while. Alternatively, you can also grow them in multi-pot pallets and sow 2 to 3 seeds per pot. In both cases, the tomato seedlings will need a larger pot with nutrient-rich soil or special tomato soil after a few weeks.
When pricking out, tomatoes are usually planted deeper in the soil than before. This gives them additional stability, as the tomato plants form additional roots (adventitious roots) from their shoots. Place the tomato seedling in the garden soil up to the cotyledons at most. Leave the cotyledons on the plant. Otherwise a wound is created through which diseases can penetrate more easily. The cotyledons will simply die off over time.
When to Prick Out Tomatoes?
Tomatoes form their first leaves about three weeks after germination. Then it's time to prick out your tomato seedlings. From now on, they will grow into handsome young plants until they are planted out in the greenhouse or outdoors. If you know that it's still a while before planting out, you should choose a suitably large pot for the tomato plant.
What Temperature Do Tomatoes Need After Pricking Out?
The optimum germination temperature for tomatoes is between 20 and 25 ° C/68 and 77 ° F. After pricking out, however, the tomato seedlings should be kept cooler. Temperatures between 15 and 20 ° C/59 and 68 ° F are then perfect. If it is too warm, you run the risk of your tomato plants going to seed. The relationship between temperature and light must be right. Otherwise the seedlings will only develop thinly and weakly.
Prick Out Chili/Peppers: It’s That Easy
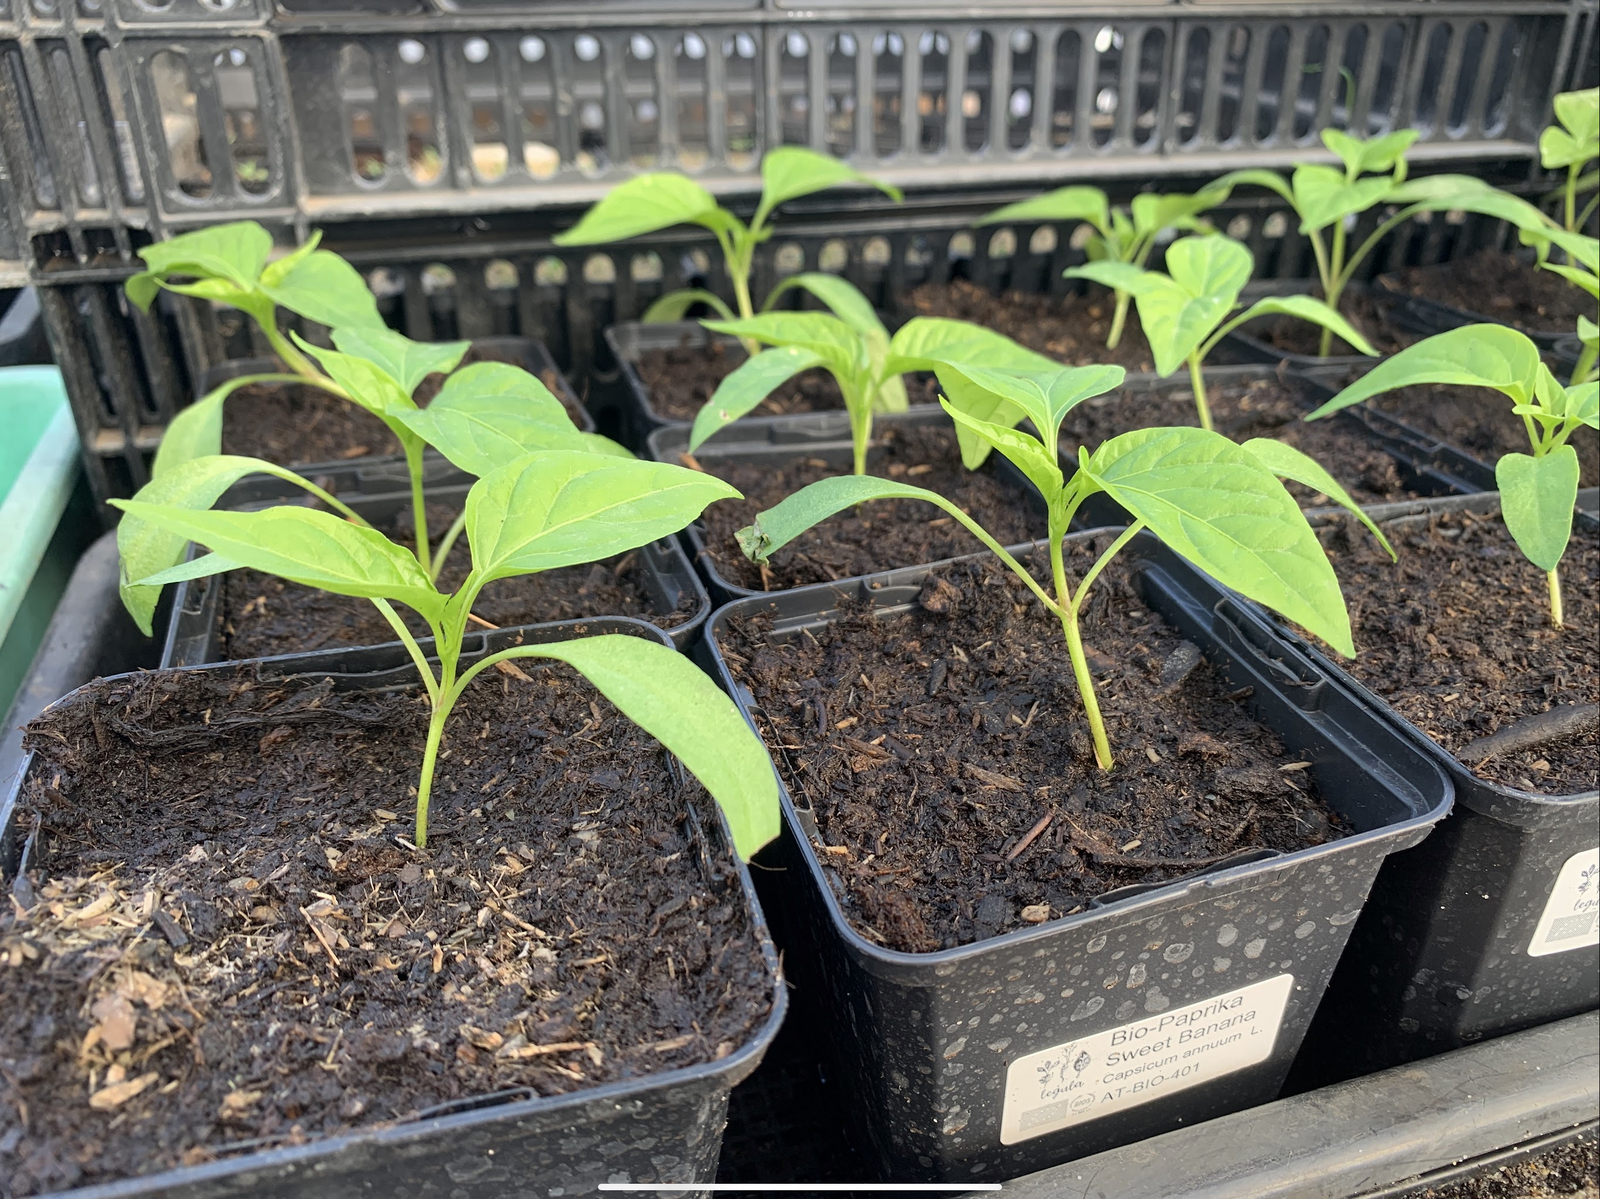
Just like tomatoes, peppers and chili peppers are often grown in advance. These sun worshippers have a long growing season and need the head start so that we can harvest at the end of the season. Pricking out works in exactly the same way as with tomato seedlings. You can also plant chili and peppers deeper into the soil to increase stability. However, I don't plant peppers quite as deep as tomatoes, but only deep enough for one to two centimetres of the sprout to peek out of the soil.
When to Prick Peppers?
Peppers are a very slow-growing crop that requires a lot of patience. The first leaves only appear around four weeks after germination. Then you can prick out your bell pepper seedlings and repot them. After transplanting, the bell pepper plants should be placed in a bright spot with temperatures around 20 ° C/68 ° F.
Pickling Kohlrabi
Kohlrabi plants are a particularly popular crop early in the year because they are robust and cold-resistant. Kohlrabi seedlings therefore need relatively low temperatures of between 12 and 15 ° C/54 and 59 ° F after transplanting. Kohlrabi plants begin to form tubers below 54 ° F.
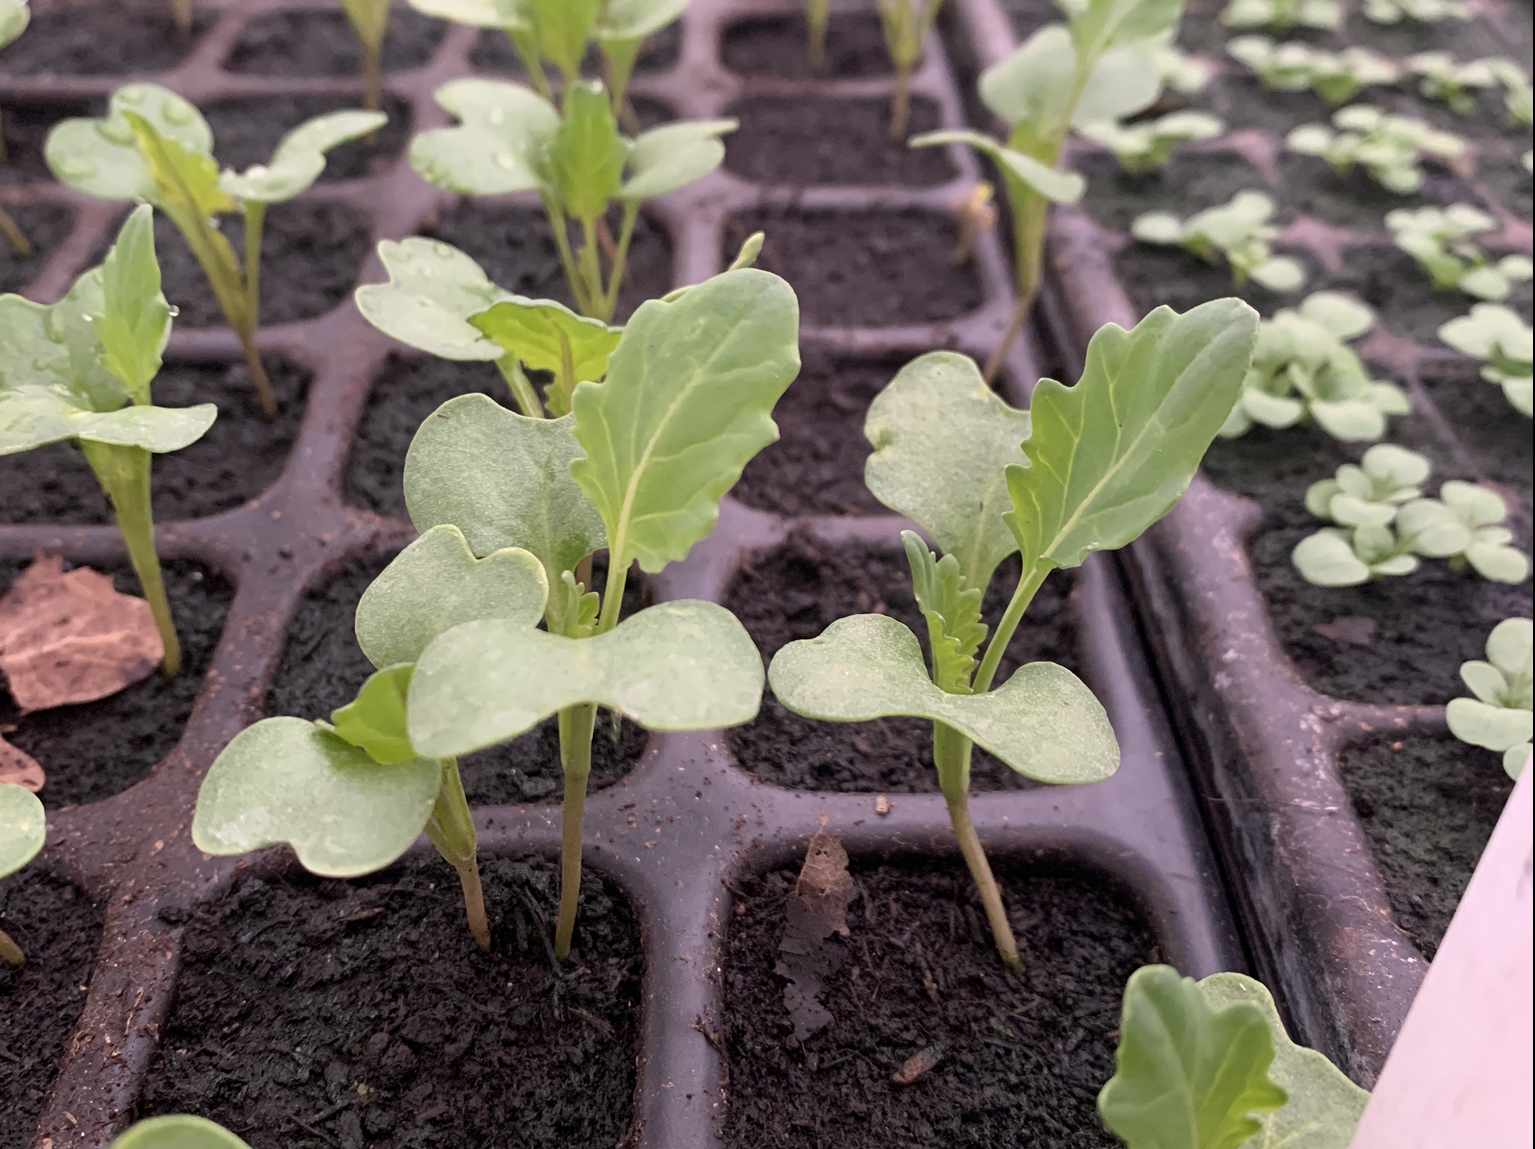
When pricking out kohlrabi, you can place the seedlings a little deeper into the soil, but this is not absolutely necessary. However, this can give the plant more stability, especially if the kohlrabi seedlings are too young. As a general rule, however, do not plant too deep, as the kohlrabi plant forms its tubers above ground above the second or third leaf.
Pricking Lettuce - Picking Lettuce, Head Lettuce
Lettuce can be sown in cubes and harvested as plucking lettuce or baby leaf lettuce. Picking lettuce does not need to be pricked out. However, if there are clearly too many young plants sprouted or sown, you can thin them out a little. Alternatively, there are lettuces that form heads. Lettuce must be pricked out and singled out in order to have enough space.
When to Prick Lettuce?
Lettuce plants grow relatively quickly: you can prick out one to two weeks after sowing. A steady hand is required here, as the lettuce seedlings are very small and tender. When pricking out, you can place the plants a little deeper, especially if your lettuce seedlings are wilted. However, the heart of the lettuce plant should be planted slightly higher when transplanting later.
Prick Cucumbers, Zucchinis and Pumpkin
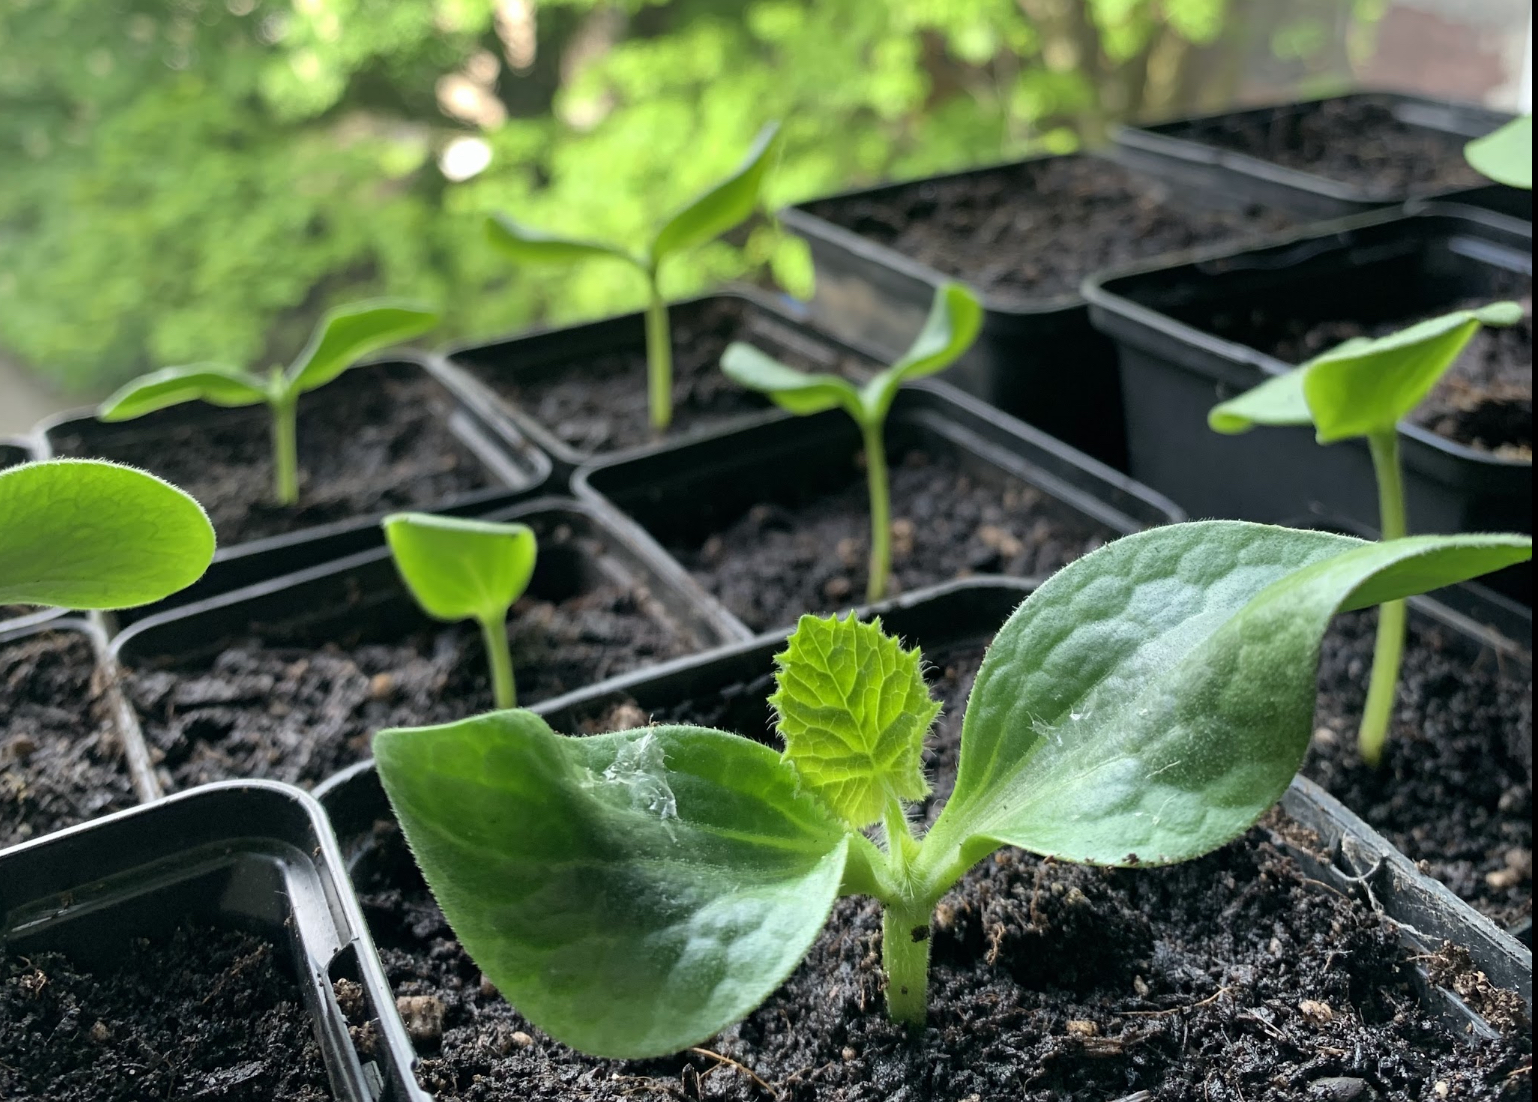
Cucurbits are very heat-loving crops with a relatively long growth phase. This is why cucumbers, zucchinis, pumpkins and melons are often grown on the windowsill. Unlike with many other crops, the aim here is to avoid pricking out. The roots of these plants are very sensitive and do not like pricking out and repotting very much. For this reason, these crops are usually sown individually, directly into a larger pot (around 10 cm/4 in).
The seedlings of these vegetable plants can also be sown deeper, especially as they also tend to go to seed. They are sown quite early in the year when the days are still short and dark. However, a little sprout should still be visible above ground and the cotyledons should protrude about 2 to 3 cm/0.8 to 1.2 in above the soil.
If you have any questions or comments, please write to us at [email protected].
Would you like to receive helpful gardening tips all year round and plan your own beds optimally? Then register here or download the Fryd app for Android or iOS.
Fryd - your digital bed planner
Marie
Current Topics in the Community
Liked 1 times
Are you a sausage?
Show 1 answer
Liked 1 times
My garden
Fab new plan
Popular Articles
Companion Plants for Carrots: What (Not) to Plant With Carrots
Companion Plants for Celery : What (Not) to Plant With Celery?
Strawberry Types: List of Best Strawberry Varieties
Companion Planting With Strawberries: Companion Plants and Planting Plan
Basil Varieties & Types at a Glance
What to Plant With Cabbage: Good and Bad Companion Plants
Fertilizing Strawberries: Home Remedies & Natural Fertilizers at a Glance
Growing Sweet Potatoes: Tips on Cultivation & Companion Plants
Companion Plants for Kitchen Herbs: Chives, Parsley & Co
What Herbs Can Be Planted Together?
FAQ
When pricking out, young plants that have been sown too densely are separated and transferred to their own pots with nutrient-rich soil. This promotes growth and the development of a stronger root system.
Young plants should be pricked out when the cotyledons are fully developed and the first true leaves appear.
Which soil should I use for pricking out?
Nutrient-rich garden soil, which can be adapted to the needs of the specific plant species, is recommended for pricking out.
What do you have to consider when pricking out tomatoes?
When pricking out, tomatoes should be planted deeper so that they form new roots from the stem lying in the soil and thus become more stable.