Planting & Growing Potatoes: Tips for Planting Potatoes
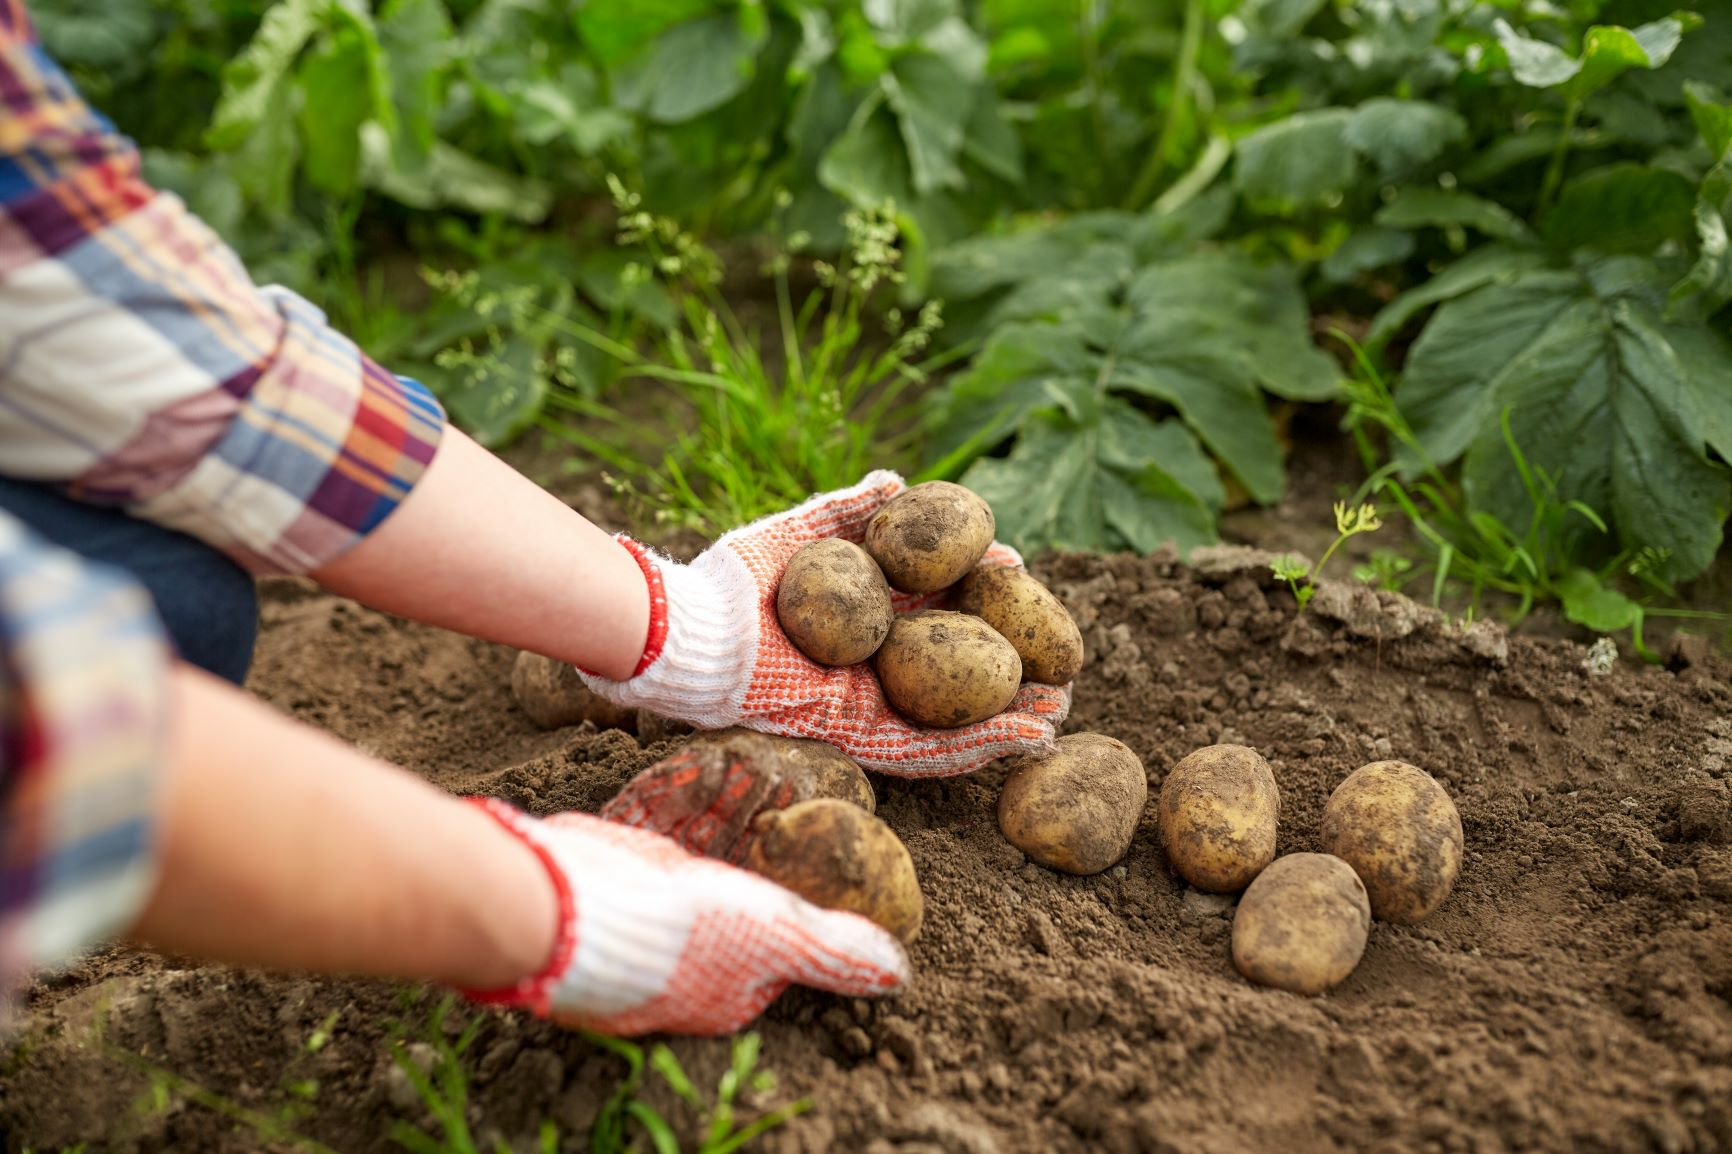
Home-grown potatoes are not only a relatively low-maintenance crop for the garden, but are also an excellent source of carbohydrates for self-catering. Some varieties can be stored well, so you can still enjoy your harvest in winter. Depending on the variety, potatoes are harvested at different times. You can find out what you need to consider when growing potatoes in this article. We give you tips on planting, caring for and harvesting potatoes.
This Article Contains:
- The Potato Plant: What You Need to Know
- What Types of Potatoes Are There?
- Planting Potatoes: Instructions and Tips
- Your Mixed Crop Planting Plan With Potatoes
- Planting Hay Potatoes: No Dig Method From Permaculture
- Potato Pot - Planting Potatoes on the Balcony
- Fertilizing Potatoes
- Potato Diseases: Late Blight & Potato Blight
- Potato Pests: Colorado Potato Beetle
- Harvesting and Storing Potatoes
- Frequently Asked Questions About Planting Potatoes
Quick Overview
Planting Potatoes at a Glance
- Light requirement: high
- Nutrient requirement: high
- Water requirement: moist
- Soil: loose, humus-rich but slightly sandy soil
- Germination temperature: seed potatoes germinate at 12 to 15 °C/53.6 to 59 °F
- Sowing: between April and June, depending on the variety
- Planting depth: 5 - 10 cm/2 - 3.9 in
- Planting distance: 35 x 65 cm/13.8 x 25.6 in
The Potato Plant: What You Need to Know
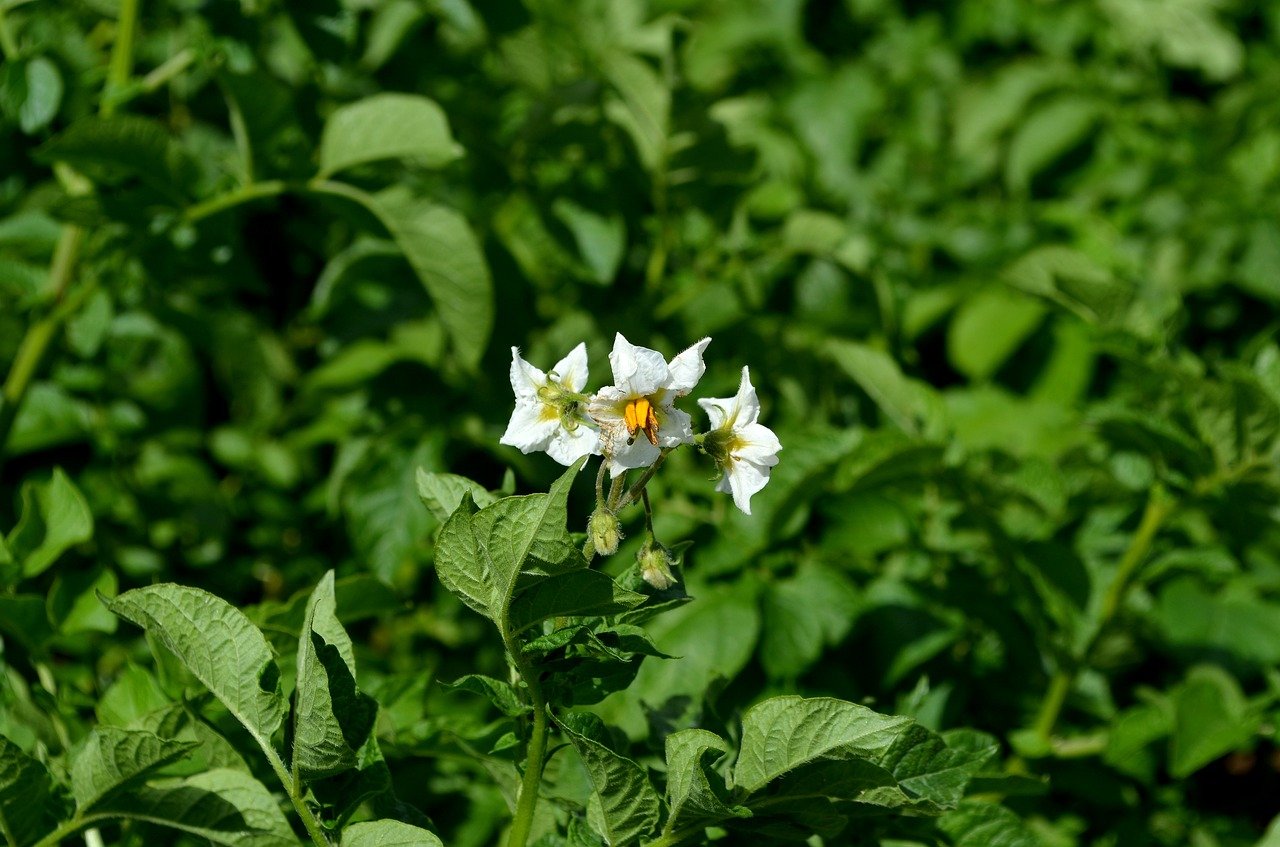
The potato (Solanum tuberosum), also known as the potato apple, belongs to the nightshade family (Solanaceae), just like the Tomato ,Eggplant and Bell Pepper.
Where Do Potatoes Come From?
Potatoes originally come from South America, where they were cultivated around 8.000 years ago. When the potato finally arrived in Europe in the 16th century, the cabbage and berries were initially eaten, which caused stomach ache and diarrhea. From the 18th century onwards, there was a real potato boom in Europe. The tuber became one of the most important staple foods in many European countries.
What Types of Potatoes Are There?
There are over 3000 potato varieties worldwide, but only very few are still cultivated on a large scale. The varieties can differ greatly in shape, taste or harvest time. Old varieties in particular are becoming increasingly popular among hobby gardeners, as they are often resistant to diseases. However, many old and traditional varieties have already fallen into oblivion. You can find more information about the wide range of Potato Varieties in our article on the subject.
Planting Potatoes: Instructions and Tips
Choose a sunny spot for your potato field. The soil should not be too heavy, otherwise the young tubers will not be able to penetrate it properly. Loose soil that has been enriched with compost and rotted manure is ideal. When you can start planting potatoes depends on the location. The soil temperature should be at least 7 °C/44.6 °F, which is around April in warmer regions and May in higher areas.
The potato furrows should be at least 40 - 50 cm/15.7 - 19.7 in apart. From a distance of 70 cm/27.6 in, mixed crops such as beans can be planted between the rows. Place the potatoes in the furrows no more than 5 cm/2 in deep and 30 - 50 cm/11.8 - 19.7 in apart within the row. The deeper you plant the seed tubers, the longer they need to sprout and develop leaves.
Planting Potatoes: How to Do It
- February/March: pre-sprout the potatoes
- Two weeks before planting: prepare the bed. Loosen the soil as required and work compost or rotted manure into the soil.
- April/May: plant the potatoes. Make 5 cm/2 in deep seed furrows and place a potato in the furrow every 30 - 40 cm/11.8 - 15.7 in. Close the furrows carefully so as not to damage the shoots.
- Care for the potatoes until harvest: at the beginning, you should water the potatoes sufficiently so that they can form deep roots. Once the shoots are about 20 cm/7.9 in above the ground, it is optional to mound up the potatoes to protect them from weed growth. Mounding also increases the yield, as lateral roots with further tubers can form on the mounded stalk.
- From mid-June: harvest time for early potatoes
- From mid-August: harvest time for later varieties
Which Potatoes to Plant?
In addition to seed potatoes that are specifically suitable for planting, you can also use normal potatoes from the supermarket. However, you should wash these thoroughly as they are often treated with germ-inhibiting agents. You should also choose fairly small potatoes that are 3 - 4 cm/1.2 - 1.6 in in size. Seed potatoes are particularly suitable for growing potatoes , as you can choose the type of potato you prefer. The variety is often not specified in the supermarket.
You can also propagate your potatoes from seed, which is usually only done by breeders these days. The seeds are extracted from the tomato-like fruits and planted in February. If you use seeds, however, this can lead to unwanted cross-breeding with other varieties. In addition, the harvest in the first year is usually relatively small and the tubers are quite small. However, the small potatoes can be ideal as seed potatoes for the following year.
Pre-sprouting Potatoes: How It Works
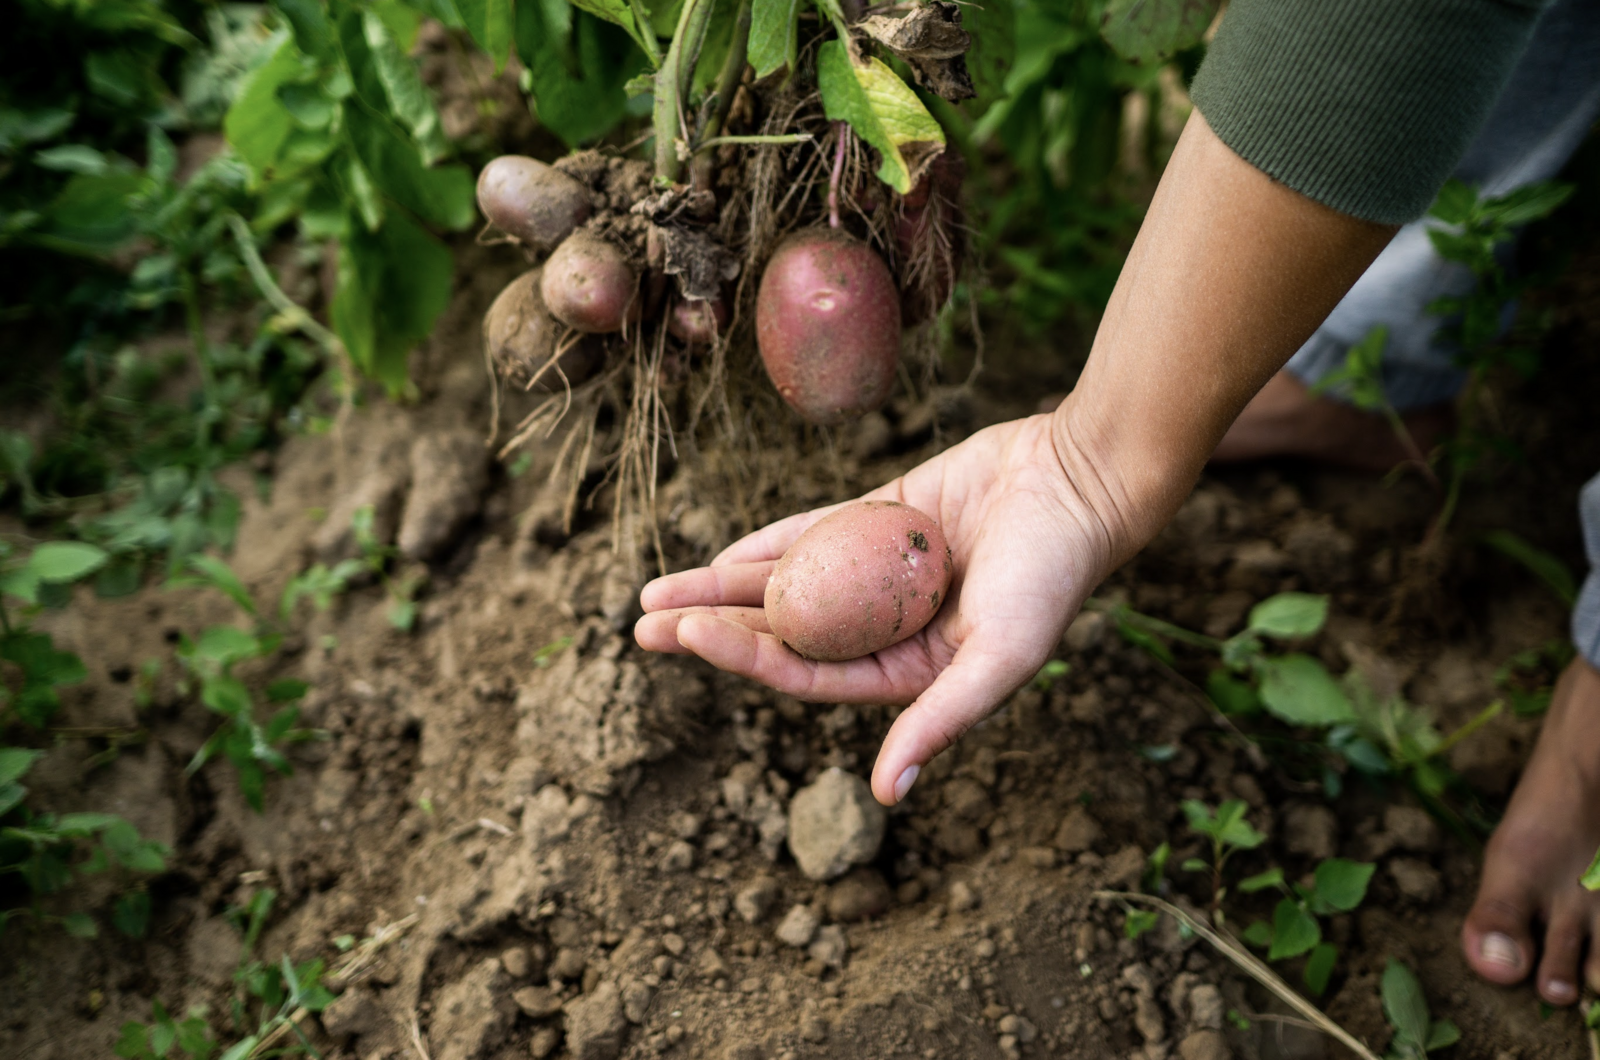
Pre-sprouting your potatoes around four to six weeks before planting gives your potato plants an enormous growth advantage. Light sprouts are formed on the tuber, which are planted in the soil together with the tuber. This allows the potato to start rooting straight away. Faster development reduces the risk of brown rot and increases resistance to blight. It also allows you to harvest your potatoes a little earlier.
Instructions for Pre-sprouting Potatoes
- Place the seed potatoes in a shallow box lined with some potting compost
- Spray the potatoes with a little water
- Place the box with the seed potatoes in a bright, slightly cool place (temperatures between 10 and 16 °C/50 and 60.8 ° F)
- Repeat spraying the potatoes from time to time to stimulate root growth
- Make sure that the tubers do not become too moist, as this will encourage rot and mold
- The first light sprouts should form after three to four weeks
- After four to six weeks, you can plant the pre-sprouted potatoes
Your Mixed Crop Planting Plan With Potatoes
A mixed crop has many advantages for your vegetable patch. We have prepared a few planting plans for you to get inspiration for your potato patch.
Our tip: Many gardeners choose a separate bed for their potatoes. However, there are many advantages to planting Potatoes in a Mixed Crop.

Want to Plan a Bed?
With our bed planner, you can easily plan a colourful mixed crop. Good and bad neighbours are displayed directly and you get tips on succession planting and crop rotation!
Plan a Bed NowPlanting Hay Potatoes: No Dig Method From Permaculture
Potatoes do not always have to be dug into the field. You don't even need a spade for the hay method. This cultivation method is therefore one of the No-Dig Methods. No digging is required when gardening, which preserves the soil structure and soil health.
Hay Potatoes - Instructions
- First, the potatoes are laid out in rows on a mown piece of meadow at the beginning of May (approx. 40 cm/15.7 in apart)
- The tubers are then covered with a layer of dry hay approx. 40 cm/15.7 in thick.
- The area should now be watered well and kept moist, which is why it is worth waiting for a slightly wetter period before using this method to save on watering. If the soil contains sufficient water at the beginning, even a longer dry period will not harm the tubers, as they sit under a thick mulch layer of hay.
- After a few weeks, the potatoes will begin to sprout and form roots.
- When the haulm has died back, you can rake the hay aside and collect the potatoes from the ground.
- You will notice that some of them have also dug themselves in a little deeper and the soil has loosened. This area is perfect for creating a new bed. Simply add an additional 20 cm/7.9 in layer of compost and/or manure and cover the whole area with hay again. You can plant your new bed the following year.
Potato Pot - Planting Potatoes on the Balcony
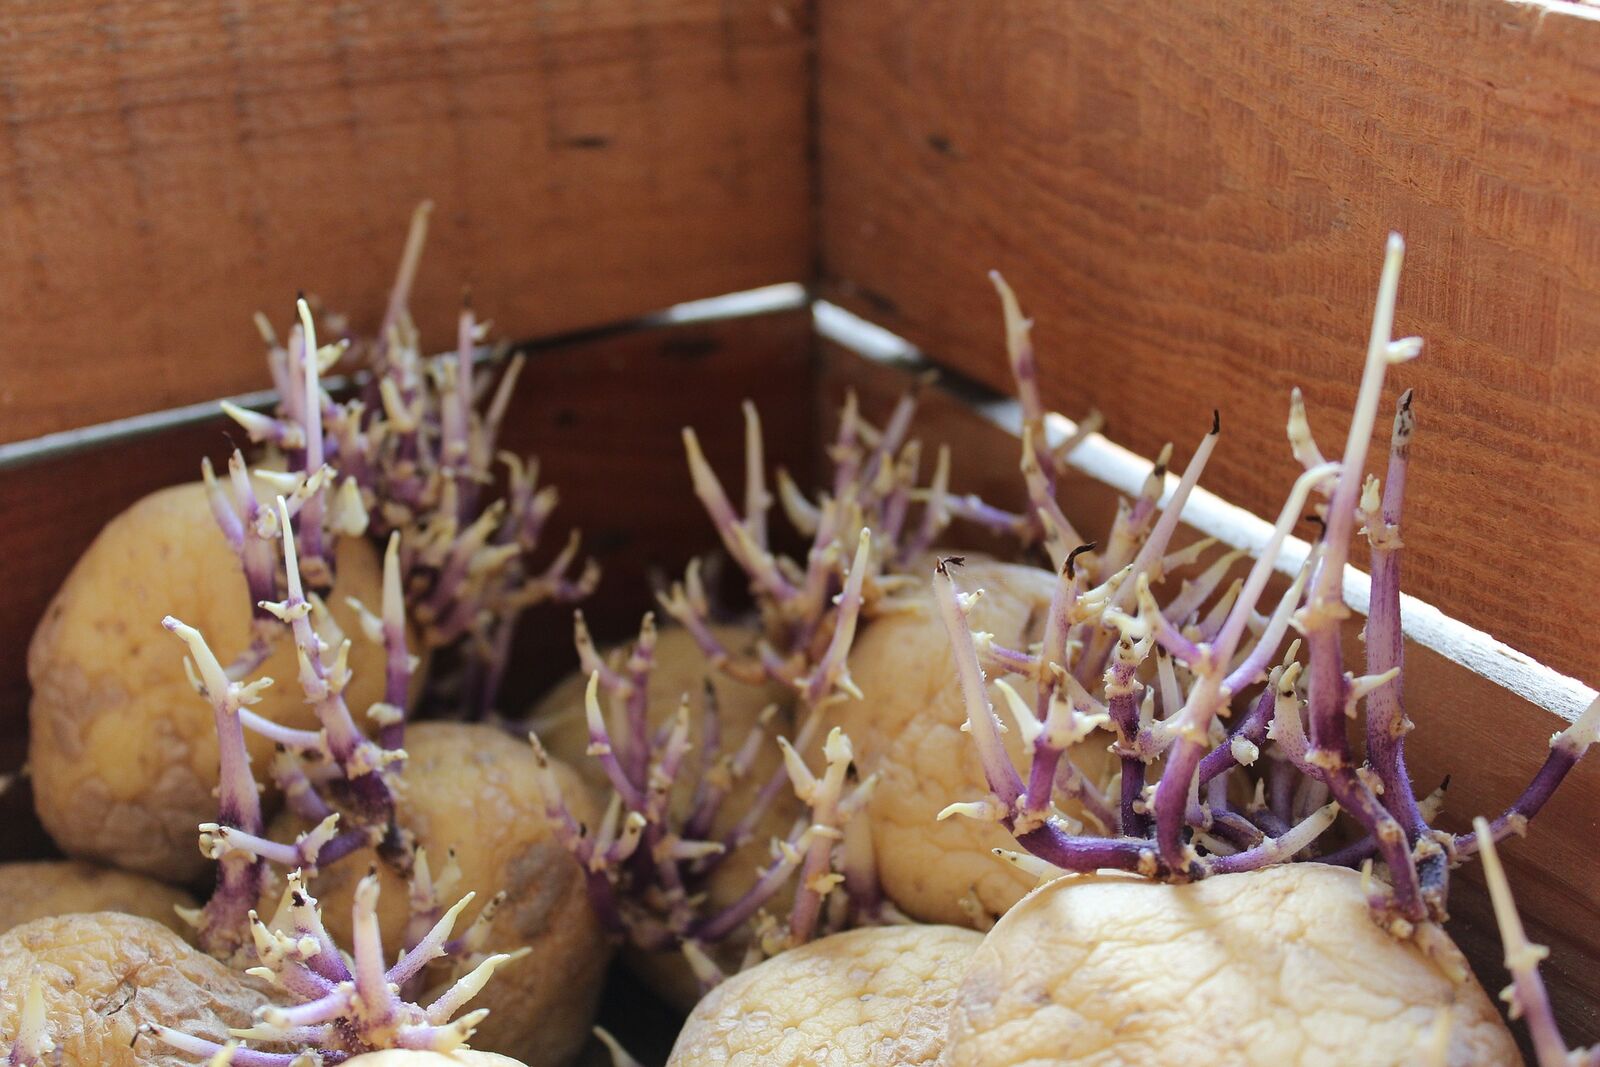
If you have limited space or want to grow lots of different varieties, you can try the potato pot.
Instructions for Growing Potatoes in Pots:
- Your pot should have a diameter of around 50 cm/19.7 in. To prevent waterlogging, it should have a drainage hole at the bottom.
- Now fill the pot with approx. 20 cm/7.9 in of loose soil. Compost or loose garden soil is suitable for this. You can also mix in some sand to keep the soil loose and permeable.
- Then add 3 - 5 pre-sprouted potatoes to the soil (depending on the size of the tubers).
- A thick layer of primary rock flour and a further 10 cm/3.9 in layer of soil are then placed on top of the tubers.
- When the shoots are approx. 10 cm/3.9 in high, fill the pot with humus until only a small part of the stem and the leaves are sticking out of the soil (as when piling up).
- Repeat this until the pot is completely filled with soil. Make sure the pots are sufficiently moist.
- As soon as the cabbage has died back in late summer/autumn, you can turn the pot over and harvest the potatoes.
Fertilizing Potatoes
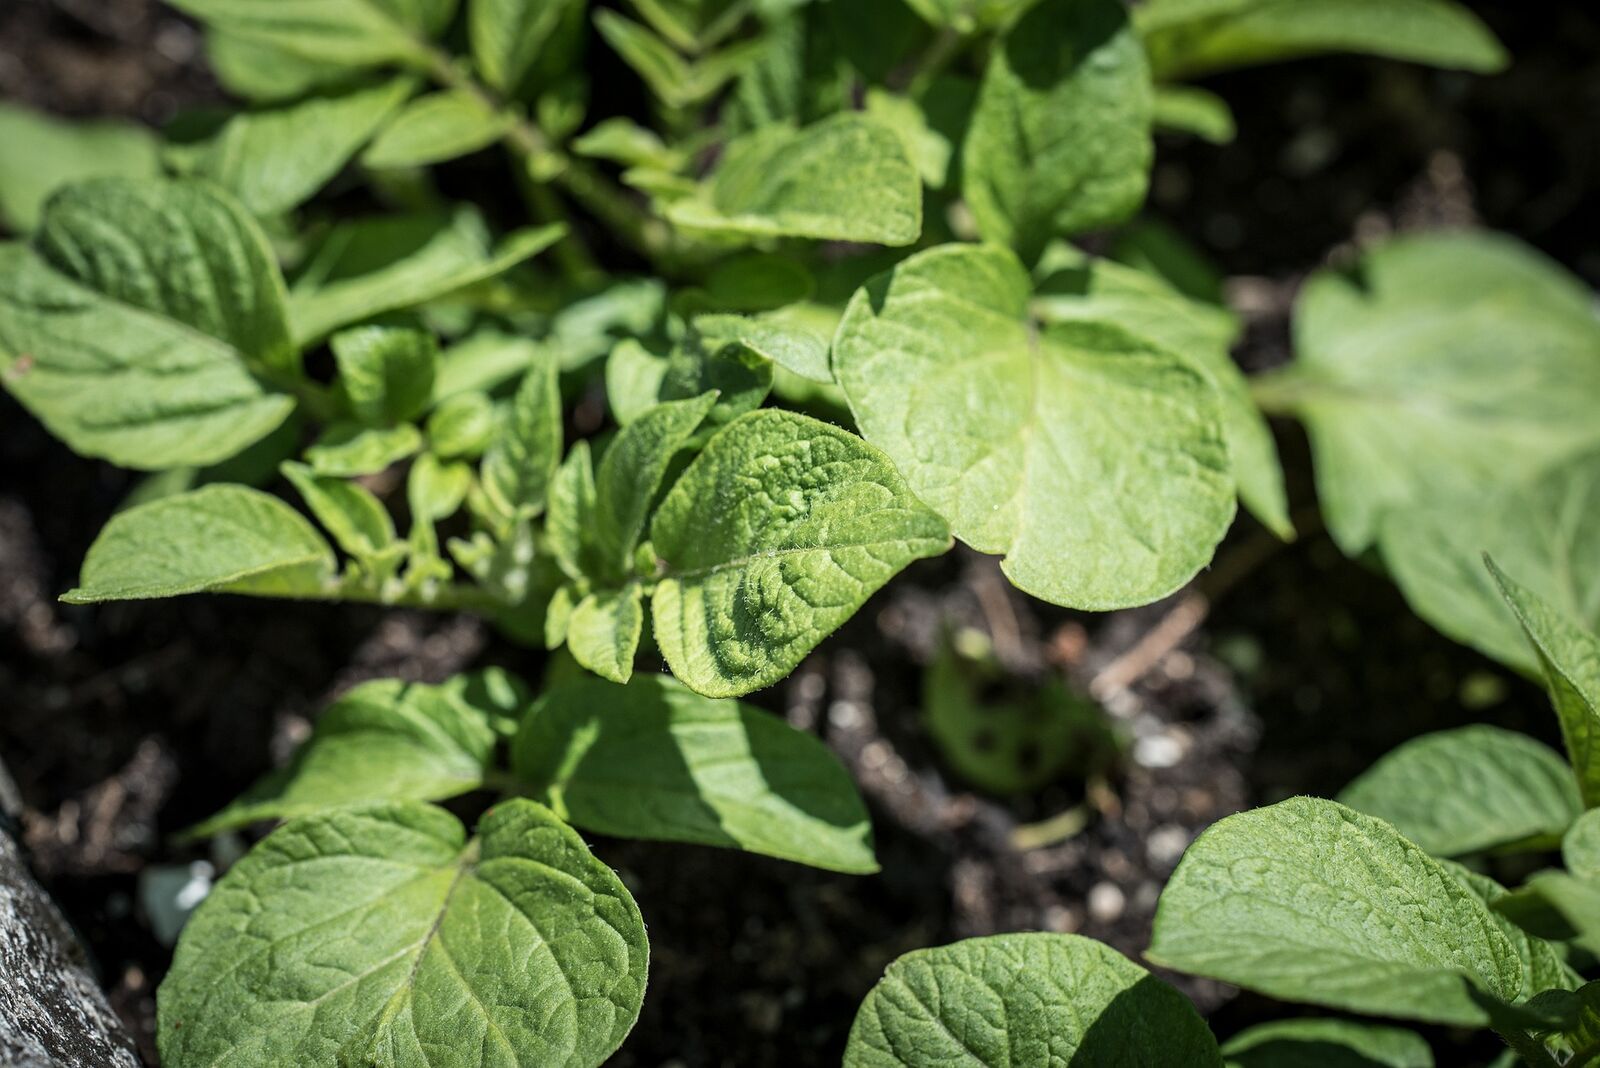
Potatoes are Heavy Feeders, which is why they thrive best in well-fertilized, nutrient-rich soil. To do this, work a generous amount of mature compost or manure into the soil before sowing. The no-dig method involves fertilizing once a year with plenty of compost so that the soil is prepared for the whole season. According to Charles Dowding, an annual layer of compost about 2.5 cm/1 in thick is sufficient as fertilizer. Fresh manure is too pungent and can not only damage the roots but also attract wireworms, which eat the potatoes. If you only have a little compost or manure, you can water with Nettle Slurry during the growth phase or add horn shavings to the planting hole.
Potato Diseases: Late Blight & Potato Blight
Recognizing Late Blight
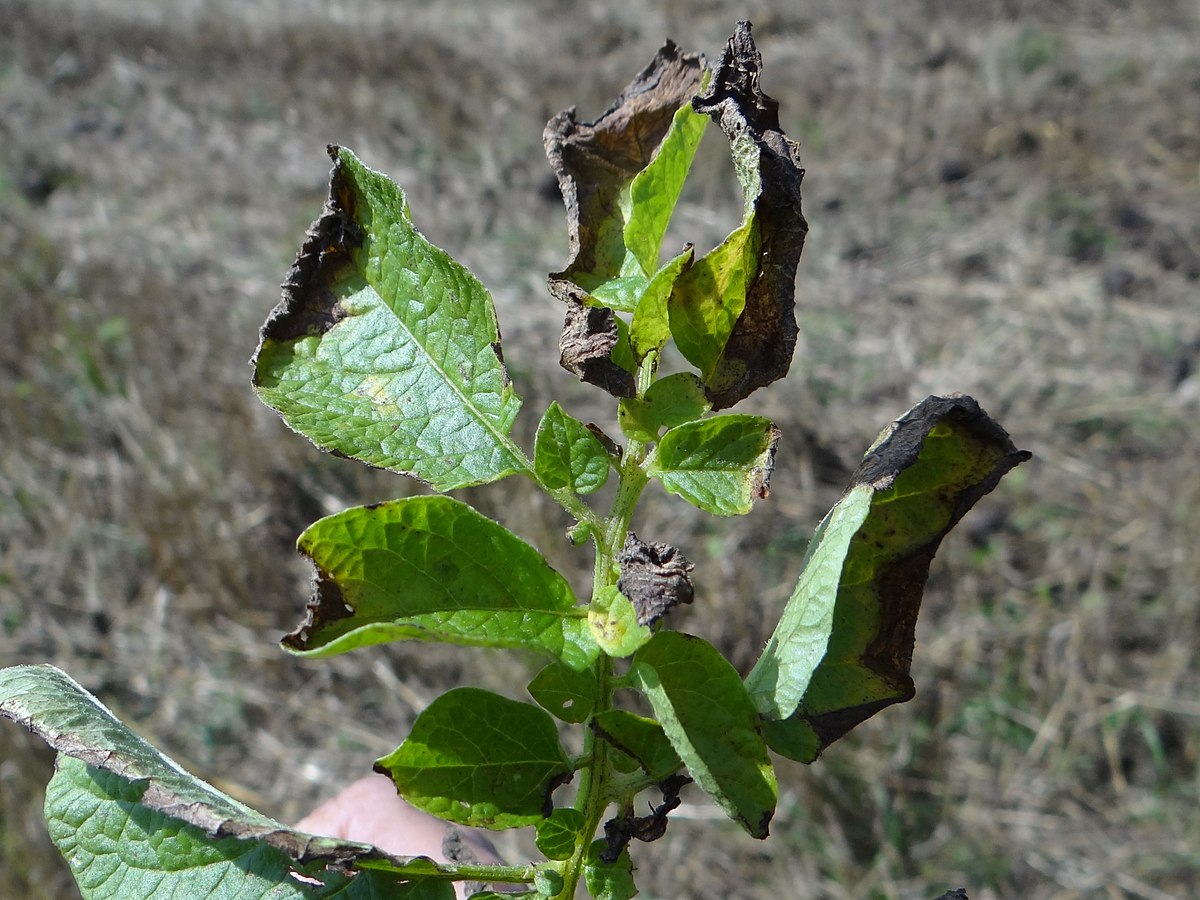
Late Blight (Phytophthora infestans), also known as brown rot, is a fungal disease that can cause considerable damage to potatoes and other solanaceous crops. The problem is that the damage occurs relatively late in the growth phase. At first, dark brown spots can be seen in places on older leaves and stems. Later, a white or purple layer of spores forms on the underside of the leaves, reminiscent of mold. The roots and tubers are also affected later. The fungus needs sufficient moisture to grow, which is why brown rot often occurs in wet weather or during night-time dew.
What to Do with Brown Rot?
If suspected, remove the affected plant parts immediately to slow down the spread. However, brown rot infestation often puts an end to the potato and tomato season. Harvest residues should be removed immediately. You can dispose of the diseased plant parts in the compost, as spores only survive on living plant parts. It is often claimed that the fungus overwinters in the soil, which is why it is recommended not to grow any more shade plants in the same place. However, an experiment by Charles Dowding proves the opposite, in which he cultivated potatoes in the same bed for seven consecutive years without any problems, despite an infestation of late blight.
Preventing Potato Blight
As a preventative measure, spraying nettle or onion-garlic decoction can protect against infestation. Hard-boiling varieties are less at risk. In addition, the potato plants should not be planted too close together so that rain or dew can dry off well.
Potato Pests: Colorado Potato Beetle
What Does a Colorado Potato Beetle Look Like?
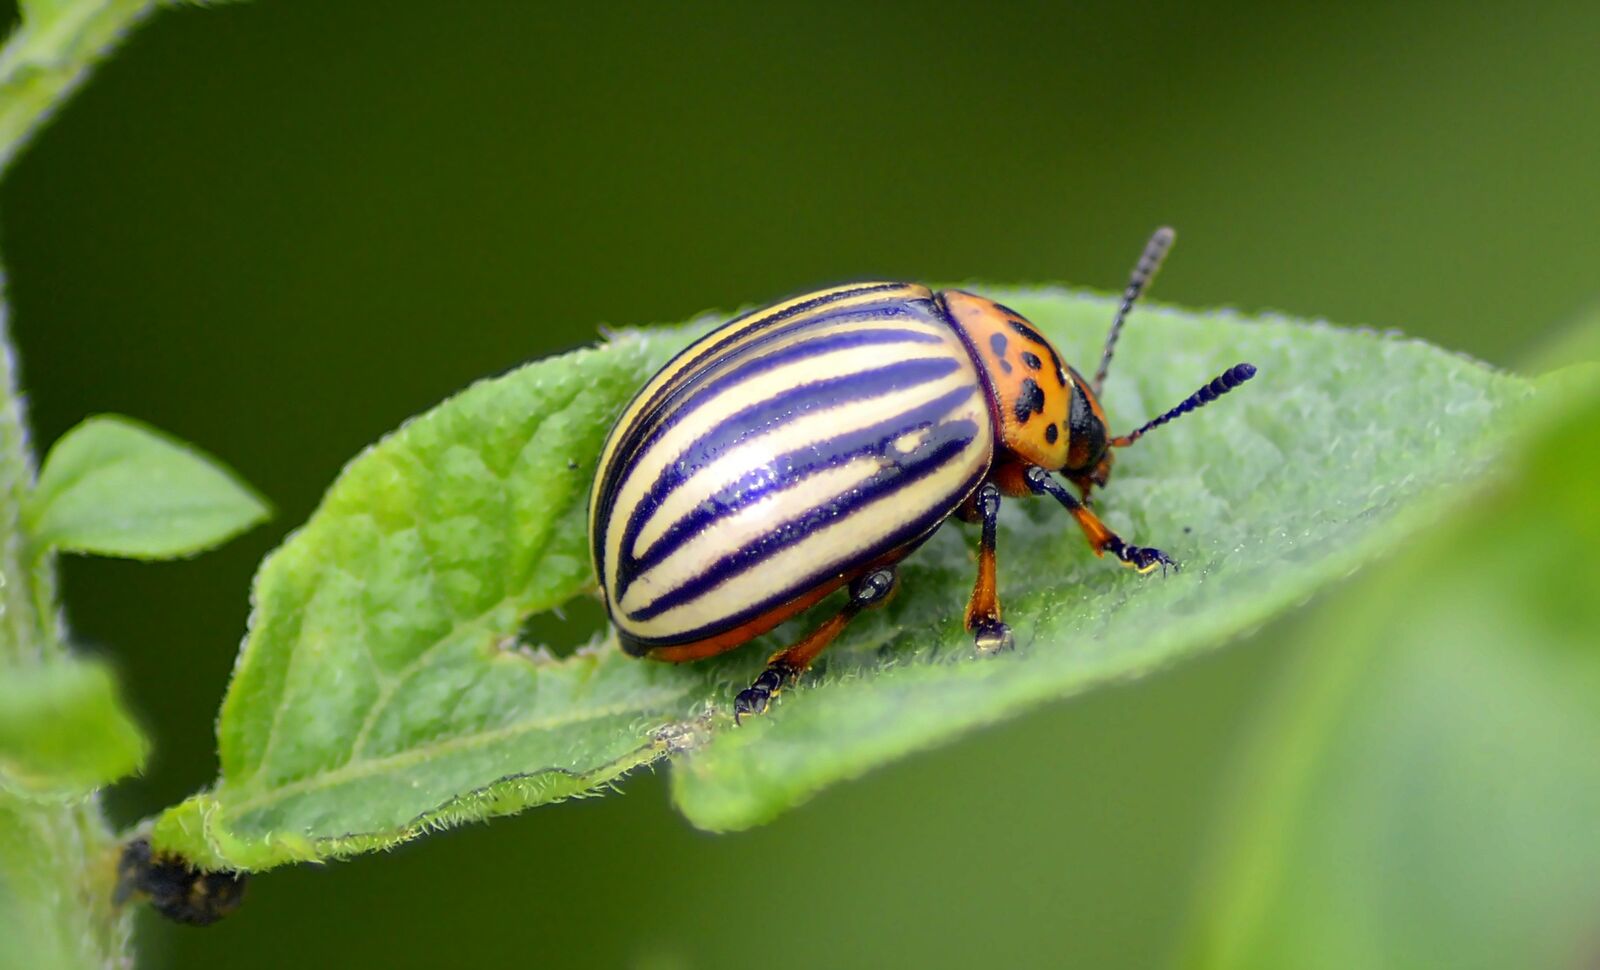
The yellow-black striped Colorado potato beetle and its reddish-brown larvae, which later turn yellowish, eat potato leaves down to the stem. This can result in the leaves being completely eaten away, which can lead to considerable crop losses.
What Helps Against Colorado Potato Beetles?
In case of acute occurrence: Collect larvae, eggs and beetles. Sprinkle rock flour or spray Niemöl on the plants. A home-made horseradish slurry can also drive the beetles away. To do this, add 200 g/7 fl. oz. of dried horseradish to 10 L/21 pt of cold water and leave in the sun for a few days. Coffee grounds also repel the pests: sprinkle the dried coffee grounds on the leaves of the affected plants every few weeks, preferably early in the morning.
Preventing Colorado Potato Beetle
Prevention is the most important measure in this case: start checking your plants for beetles and larvae as early as May (when the pests start to fly) and collect them by hand. You should also remove any leaves with yellow eggs on the underside. A mixed culture with horseradish (risk of proliferation!), flax or peppermint (risk of proliferation!) can also keep the pests away. Nettle liquid manure also has a strengthening effect on the plants. Close-meshed crop protection nets can also protect against infestation. Beneficial insects such as lacewings or birds and a four-year cultivation break can also keep the pests away.
Harvesting and Storing Potatoes
You can find out how the potato harvest works in the article on the subject. You can find helpful tips on Harvesting Potatoes here.
I hope this has whetted your appetite for growing your own potatoes. If you have any questions or comments, please write to us at [email protected].
Want to get helpful gardening tips all year round and plan your own beds in the best possible way? Then register here or download the Fryd app for Android or iOS.
Fryd - Your digital bed planner
Source: Charles Dowding 2022, #No Dig - Gärtnern ohne Umgraben, Publisher: Dorling Kindersley Verlag GmbH (Munich), ISBN 978-3-8310-4624-9
Isabell
Current Topics in the Community
Jan 2026
@Testi

@Testerrrr
Popular Articles
Companion Plants for Carrots: What (Not) to Plant With Carrots
Companion Plants for Celery : What (Not) to Plant With Celery?
Strawberry Types: List of Best Strawberry Varieties
Companion Planting With Strawberries: Companion Plants and Planting Plan
Basil Varieties & Types at a Glance
What to Plant With Cabbage: Good and Bad Companion Plants
Fertilizing Strawberries: Home Remedies & Natural Fertilizers at a Glance
Growing Sweet Potatoes: Tips on Cultivation & Companion Plants
Companion Plants for Kitchen Herbs: Chives, Parsley & Co
What Herbs Can Be Planted Together?
FAQ
Pre-sprouting takes around four to six weeks. So start early, although the timing varies depending on the variety (early or late potatoes). An early variety that you want to plant out in April should be pre-sprouted in February/March.
When is the best time to plant potatoes?
Depending on whether it is an early or late variety, potatoes are planted between April and May. However, you should start pre-sprouting in February/March.
How and when are potatoes fertilized?
The best way to prepare your soil is with compost or manure. According to Charles Dowding's no-dig method, a layer of compost about 2.5 cm/1 in thick is sufficient for one season.
Stinging nettle liquid manure or onion/garlic decoction can help as a preventative measure. In the event of an infestation, cut off infected parts of the plant. It is best to be quick so that you can cut off the leaves before the bulbs become infected.
What helps against Colorado potato beetles?
Sprinkling rock flour or neem oil, for example, helps against the Colorado potato beetle. Coffee grounds or horseradish manure are also said to help against the Colorado potato beetle. You can also collect pests in the traditional way.