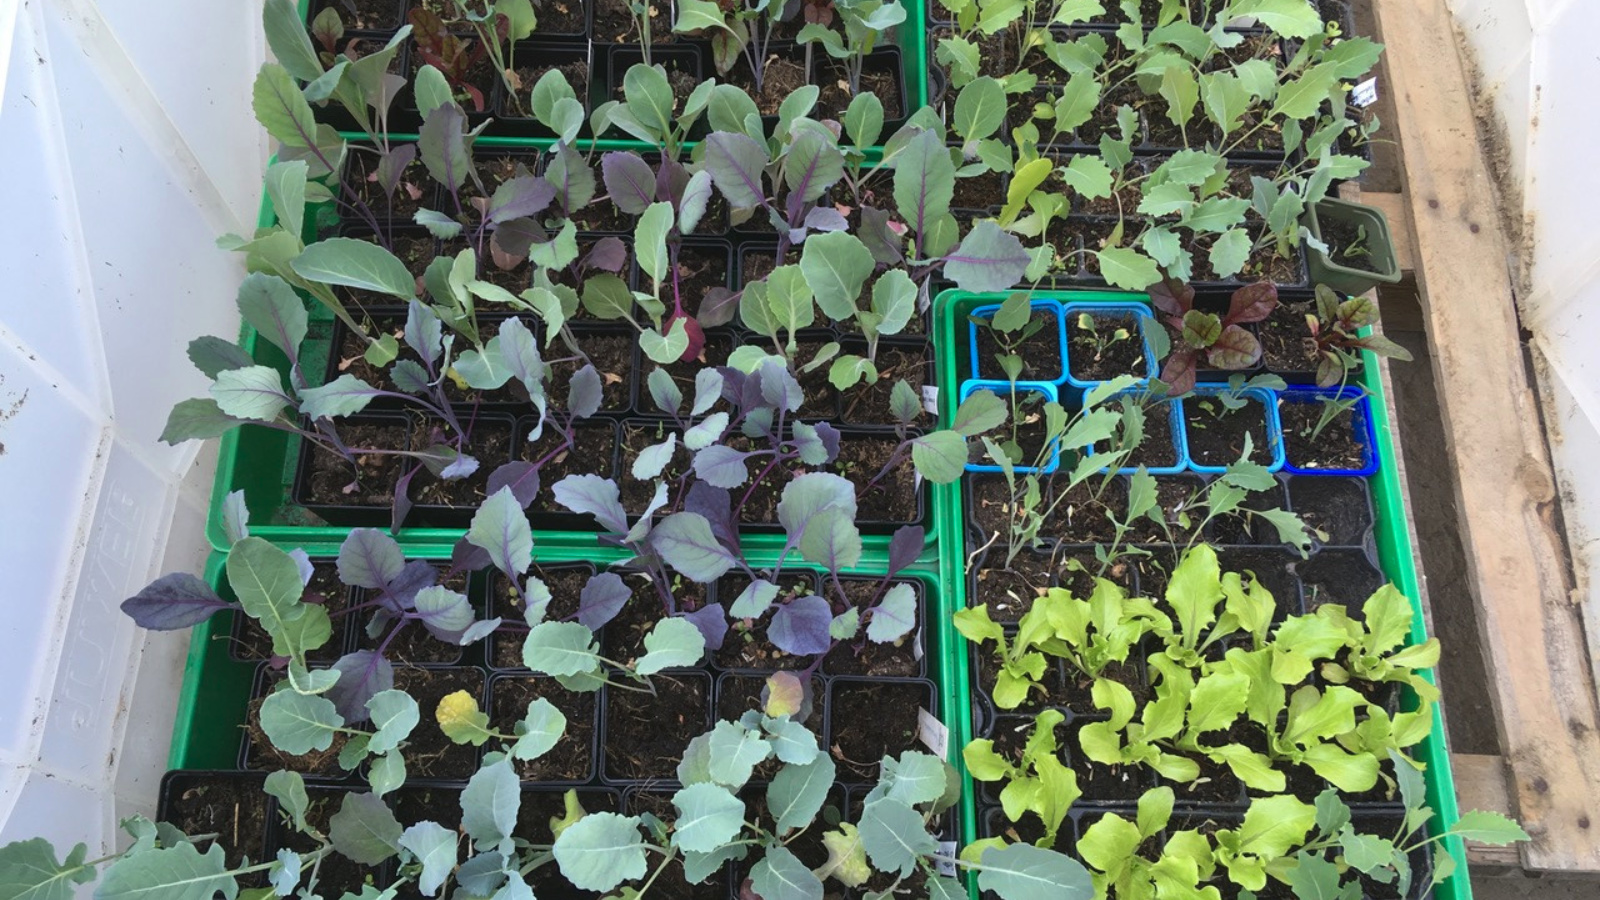
Winter sowing
This is a guest post by Kassiolino, which was first published on 11.01.2020.
And suddenly it's January. The new year has begun, the magic of Christmas has faded, all the gardening books from the gift table have been sufficiently studied and what is it? Nothing! Cold, gray, wet and still very dark. By mid-January at the latest, I used to be totally frustrated. The new year, and with it the new gardening season, had begun, my bed plans were in place, the seed orders had been placed and the only thing I could do was to be enchanted by the beautiful pictures on the seed packets. In the back of my mind, I knew that I wouldn't be able to do anything before the beginning of March. A highly unsatisfactory situation that needed a solution! I started experimenting, studied more gardening books and YouTube videos and came across the topic of winter sowing. This was and is my salvation for January every year! Winter sowing is such a fascinating subject for me that every year I ask myself why not all gardeners use this method.
This Article Contains:
Quick Overview
These plants are suitable:
Cabbage, lettuce, chard, spinach, carrots, radishes, parsley, dill and many summer flowers
What you need:
Soil, sowing containers, transparent lids, plant labels and seeds
What are winter crops?
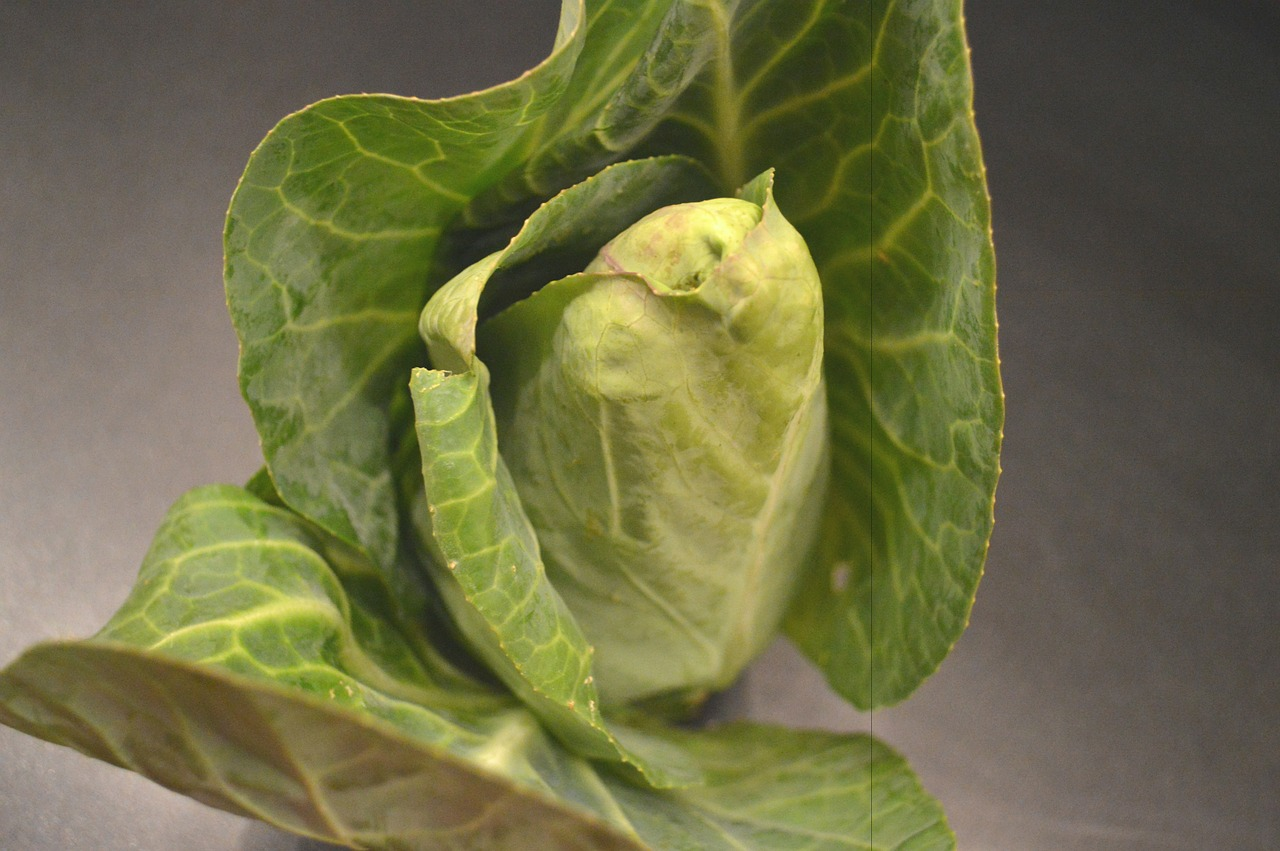
Winter sowing refers to the sowing of plants whose seeds can tolerate the cold and which are sown during the cold period of winter and not in spring when it gets warmer. The seeds lie in the cold soil and wait to germinate. They can decide the right time for this much better than we can. It doesn't do the seeds any harm if they freeze a few times before they start to germinate. When the weather gets warmer and the light returns, they start to germinate and grow into strong, compact and well-hardened young plants. Even a few frosty nights in late spring will not harm them. In addition to the feeling of being able to start the new season early, it is very important for me that I can divide up my spring gardening work a little by doing most of the sowing in January or February. I then have the first real work with these plants in April, when I plant out the first lettuce plants and have to transplant the cabbage and chard plants or summer flowers into larger pots. All cabbage and lettuce varieties, chard, spinach, carrots, radishes, parsley, dill and many summer flowers such as sunflowers, cosmeas, mallows and zinnias, to name but a few, are suitable for winter sowing.
Sowing step by step
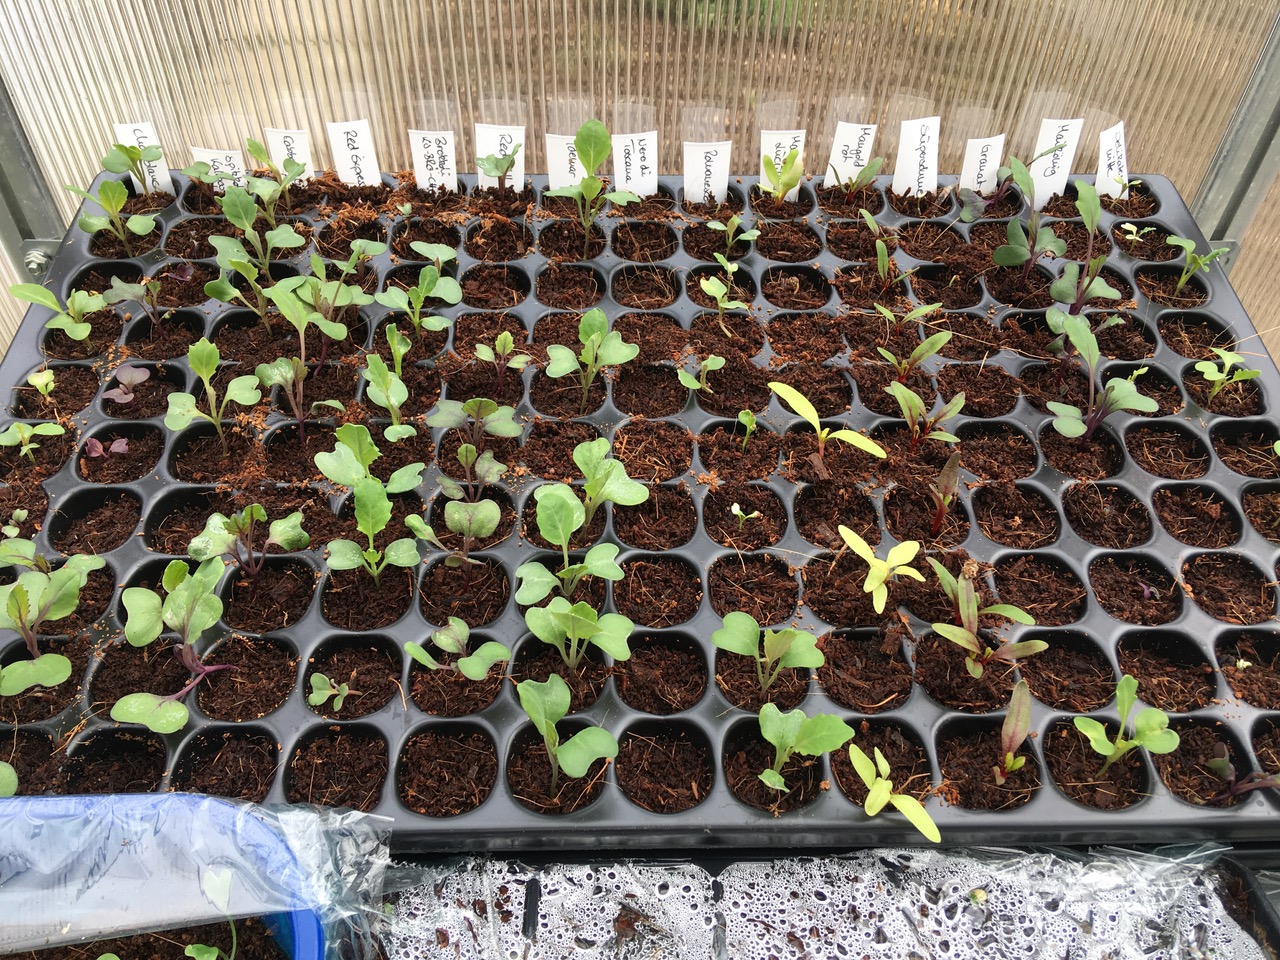
When it gets really cold in January, in our latitudes usually from the middle of the month, I get the soil, sowing pots, plant labels and seeds into my warm kitchen and get started. For my early cabbage, lettuce and chard sowings, I prefer to use multi-pot pallets with a pot size of approx. 2-3 cm. In these small pots, the seedlings grow into strong young plants with a well-developed root ball that I don't have to disturb when repotting later. There is also no need for pricking out. I first fill the entire pallet with soil and then press a depression into each small pot. This is how I prepare the entire pallet. Then I make little labels to mark the individual rows. Even though I always think I remember what I have sown where, by the next day at the latest this knowledge has mysteriously disappeared...
Now I can sow. I put one seed in each pot. Larger seeds such as cabbage and chard are covered with a little soil, small seeds such as lettuce and parsley are light germinators and are only carefully pressed down. Once all the planting holes have been filled, I place the pallet on a suitable saucer and water it from below, i.e. I pour water into the saucer and wait for about 1 hour until the soil has soaked up the water. If I watered from above, I would run the risk of the small seeds being washed over the individual seed pots. If you don't have sowing pallets, you can also fill the plastic trays of carrots or mushrooms with soil and seeds. When watering, just make sure that the seeds do not get too wet, as there are no drainage holes in the bottom of the tray. Of course, you can also place two trays inside each other and poke a few holes in the bottom of the upper tray.
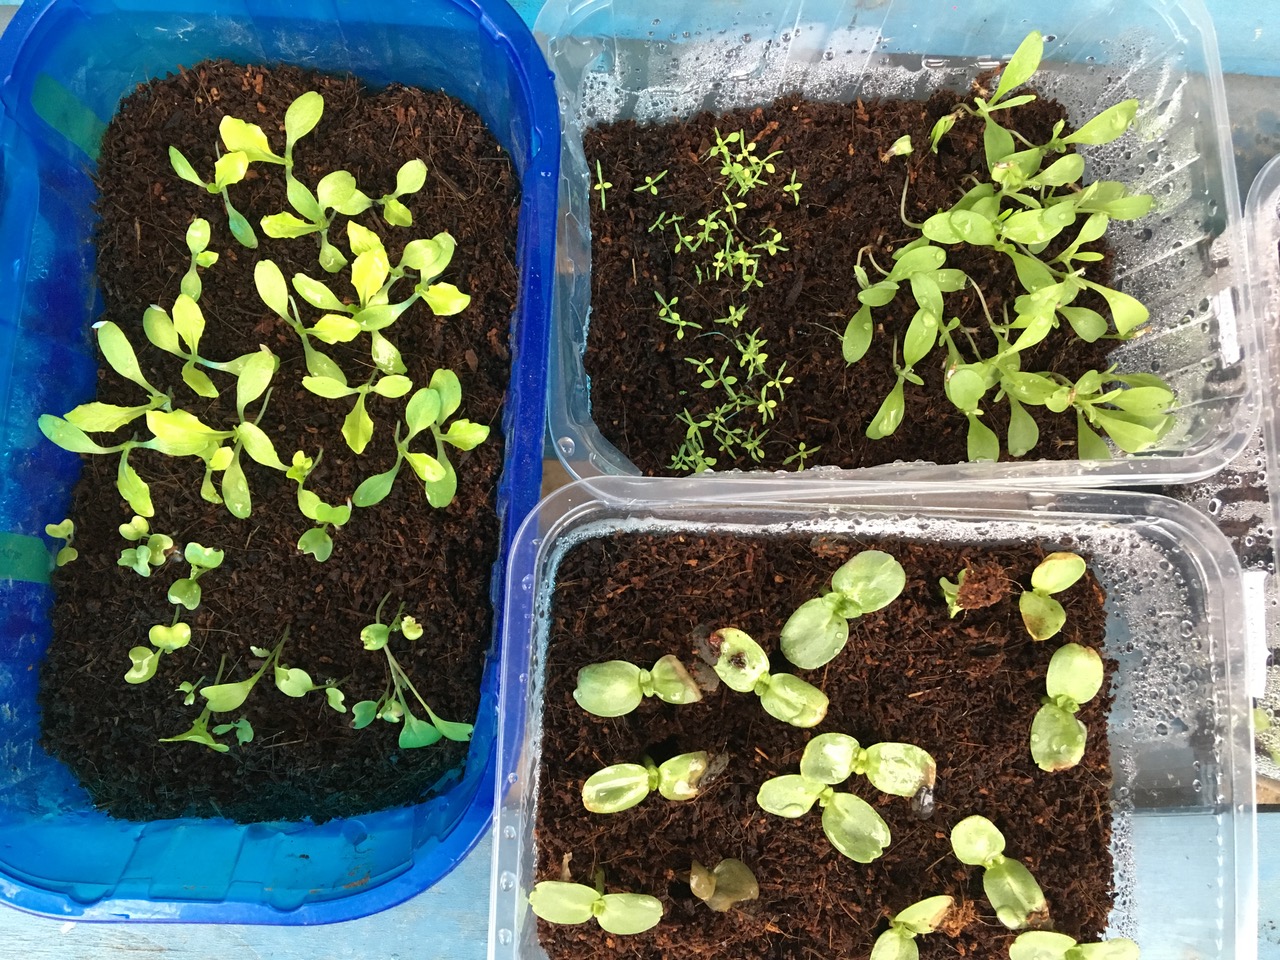
Once the seed trays have been prepared in this way, cover them with a transparent lid (or another tray). This makes a wonderful mini greenhouse. The prepared trays or pallets are placed in a sheltered but shady spot in the garden or on the balcony until they start to germinate. If these containers were placed in the sun, they would heat up too much on a sunny day and the seeds would germinate too early. As long as the lid or foil is over the seeds, I don't need to water them if I have watered them well at the beginning. If I remove the lid, the moisture evaporates and I have to water the little plants regularly. The small pots in particular dry out quickly on a sunny day.
For example, I always sow my summer flowers in these trays and then place them on the wall of the house under the cherry tree. Only when they start to germinate do I move them to a brighter place so that they don't get long and spindly. When it gets warmer and the plants germinate, the lids must be removed in good time so that the plants get air and light and can get used to the ambient temperatures. I always sow a few more seeds than I want to have plants. Firstly, not all seeds germinate and secondly, after planting out, one or two plants are often killed by a snail or a bird. That's why I always find it useful to have a few more plants than I need. Nevertheless, it makes sense not to sow too many plants at the same time, especially with lettuce, as they are usually ready to harvest at almost the same time. Who needs 25 lettuces at once? Then I prefer to sow a few new seeds every 3-4 weeks later in the spring, which then grow with a time delay and are also ready for harvesting one after the other.
Early sowing in the greenhouse
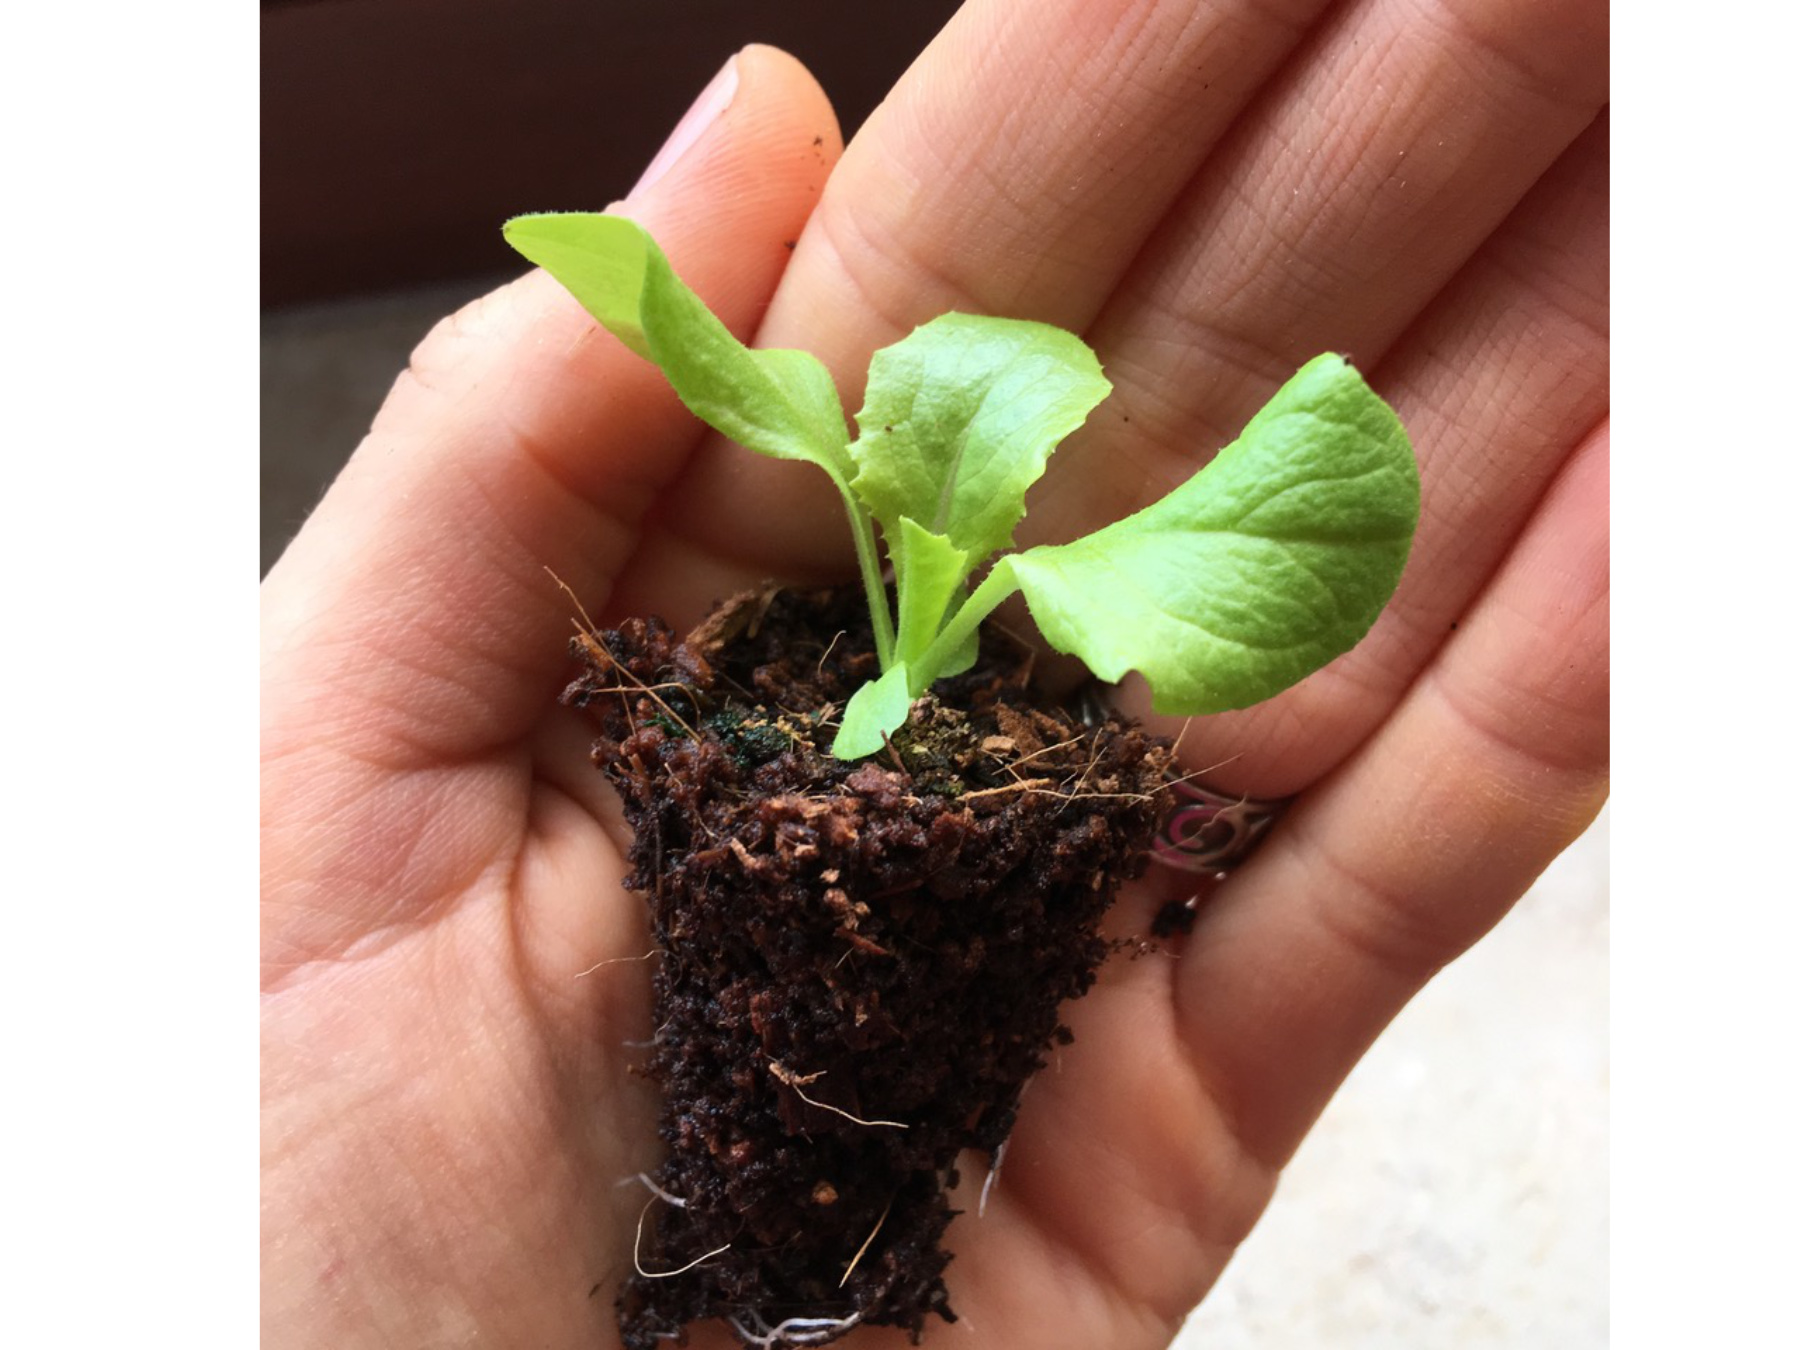
If you are lucky enough to have a greenhouse available, simply place the prepared seed trays inside. Here they will germinate 2-3 weeks earlier, as the microclimate is more sheltered and the greenhouse warms up more on sunny days. Depending on the weather, I can also plant out the first pre-grown lettuce plants in the greenhouse in March, but no later than the beginning of April. If I place a tray of lettuce seeds in the greenhouse and one in the open or on the balcony, I have wonderfully time-shifted seedlings.
Early carrot sowing
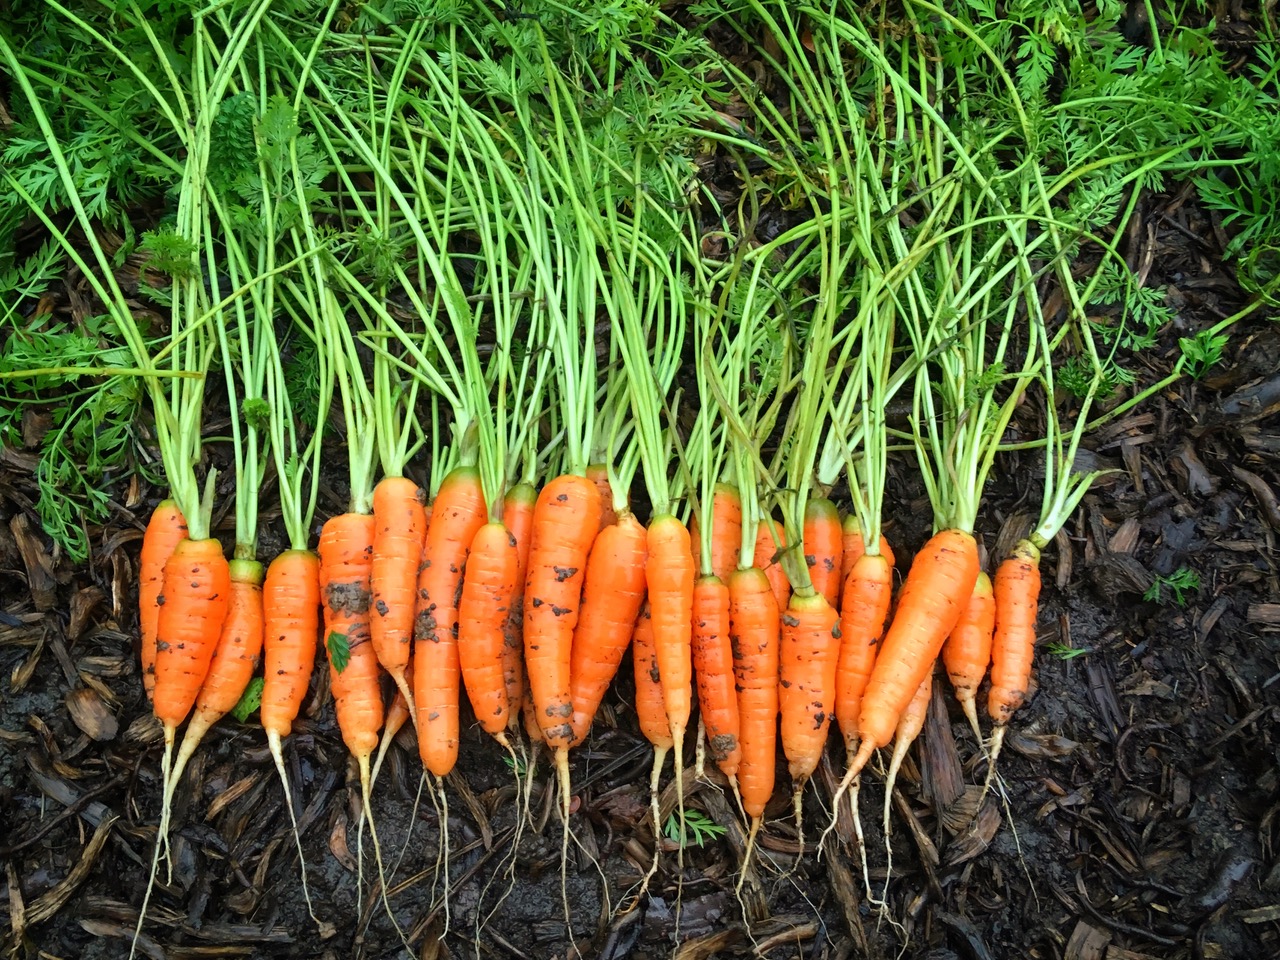
Before the frost comes in January, I also like to sow a few carrots. The choice of variety is important here. There are winter and summer carrots, i.e. slow-growing and fast-growing varieties. For winter sowing, I choose a fast-growing variety, such as a Nantaise with a development time of approx. 90 days. Here too, the seeds are left in the soil until they decide for themselves that it is time to grow. By sowing the seeds in this way, I can usually start harvesting at the beginning of June, a good 2-3 weeks earlier than if I wait for favorable weather in March so that I can finally start sowing. Until the seeds germinate, I just have to make sure that the soil is reasonably moist. Carrot seeds have an approximate germination period of 3 weeks in summer, so even if there is no real winter, don't be surprised if nothing happens at the beginning. It is important to wait until just before a long period of frost in January or February. If I did not do this work before the first heavy frosts, but earlier, e.g. in the fall, it could happen that the seeds start to germinate too early and then freeze.
Sowing carrots step by step
I prefer to prepare a pallet frame for sowing carrots, as it warms up more quickly in spring than a normal garden bed without a wooden border. Of course, you can also sow the carrots in the bed, they just need a little longer. I rake through the bed or pallet frame, remove all weeds and improve the soil with compost or bokashi (a type of compost made from fermented organic waste). Then I sow the carrot seeds in a wide bed or in rows with a row spacing of approx. 15 cm. I press the seeds, which are very fine, down a little with the palm of my hand and cover them thinly with fine compost. I then lay a fleece over the seeds and water them with the spray from the watering can. The fleece must be placed over the bed to protect the seeds and later the tender seedlings from birds, cats, wind and rain. I only remove the fleece when the carrots are about 3-5 cm high. I can also harvest the carrots a little earlier if I sow the seeds in the greenhouse. I usually already have a free space in the greenhouse at sowing time, which I prepare as described above. In a mild spring, I harvested the first tender carrots as early as mid-May. I always sow one bed in the greenhouse and one in the open field with early carrots. This way, I ensure that the early harvest lasts for a few weeks.
These are all small jobs that take no more than 20 - 30 minutes. Nevertheless, they give me the feeling that I can get actively involved with the garden in January. And that's what we gardeners want, to get out of hibernation and into the new season, even if it's still cold and gray and stormy outside. When I'm sowing, I'm already dreaming of the delicious salads and beautiful cabbage plants that I'll use to conjure up tasty dishes later in the year. Another advantage of winter sowing is that I can manage my time better. If I want to do everything at once on the first nice day in spring, I don't have to worry about the seeds anymore. On the contrary, when I walk through the garden with a cup of tea after my work is done, I can enjoy the young green sprouts that are already growing.
This was a guest post by Kassiolino. If you have any questions or comments, please write to us at magazin@fryd.app. Want to get helpful gardening tips all year round and plan your own beds in the best possible way? Then register here or download the Fryd app for Android or iOS.
Fryd - Your digital bed planner


